Terrific Tomato Varieties for your Garden

This post contains Amazon affiliate links. If you choose to click on one of the product links in this post and make a purchase, then Coffee & Chlorophyll may earn an advertising commission. For more information, refer to Disclosures
Must Grow Tomatoes Cover.png

A perfectly sun-ripened, homegrown tomato is a treasure to behold.

Seriously! Before I became a gardener and started growing my own tomatoes, I wasn’t much of a raw tomato fan. I didn’t eat them in my tacos, burgers, or salads, and I never would have eaten a plain tomato, sliced & salted. Once I discovered the refreshing flavor and richness of homegrown tomatoes, however, I was hooked! Now, I revel in the tasty tomatoes of August, slicing them and eating them with just a sprinkle of kosher salt and fresh ground pepper.

But not all tomatoes are created equally. In fact, I’ve heard that there are like 3,000 varieties in cultivation! So nowadays, you can literally find tomatoes of every size, shape, and color. This is incredible and somewhat overwhelming—but mostly incredible because think of all the varieties to try!

Above all, finding GOOD tomato varieties, with such a wide array available, requires lots of trial & error.

Now that I have grown tomatoes in two radically different climates, with radically different soil conditions, I can also attest to how personal finding GOOD tomato varieties is. Some tomatoes grow well in a given set of conditions, but poorly in other conditions. And also, different strokes for different folks means that some people like certain tomato flavors and textures, while other people do not.

So, today, I am going to share with you my All Time Favorite Tomato Varieties—the varieties of tomatoes that I Must Grow each year—varieties that I consider to be the BEST. But ultimately, to each their own. Use this as a starting point, or maybe to help you whittle down that list of 47 varieties you want to try, now that you’ve gone through all the seed catalogs. (Yep, I know it’s that long. Been there, done that! And have a lot of leftover seeds for varieties that that didn’t quite live up to their catalog descriptions or my expectations.)

Anyway, here’s my list of favorite tomatoes. Please leave me a comment with your favorite tomato varieties. Do you love a any of these same varieties? Am I missing out on a really great cultivar? Let me know below!

Must grow tomatoes for your garden

Sun Gold

Sungold Cherry Toma

If I could only grow one tomato in my garden, it would be a Sun Gold. I’m truly, madly, deeply in love with this variety.

It is a highly productive cherry tomato variety, with the best tasting fruit, hands down. The plant produces a multitude of sweet little orbs of sunshine! The fruits are thin-skinned and seriously candy-sweet. If you can’t get your hands on Sun Gold, try Sun Sugar, which is a very similar variety.

Marianna’s Peace

Best Tomatoes_ Marianna's Peace.png

Marianna, in all her glory!

This is an heirloom variety with taste almost as outstanding as it’s namesake. And that’s saying something because the story behind these luscious, thin-skinned, almost brandywine-flavored tomatoes is really incredible. Marianna was a farm girl from Bohemia, Czechoslovakia, who was taken as a teenager, from her school, by Russians during World War II. She and the other students were to be transported to a labor camp in Siberia, but with great courage, she and a few of the students tried to escape by jumping from the moving truck. Marianna made her way on foot back toward Bohemia, and was shot in the leg when crossing the Czech border. Thankfully, with the help of friends, she persisted and continued on to Bavaria. For over a decade she searched for her family, and finally, with the help of the Red Cross, she found them. It is presumed that these seeds were passed down to Marianna by her father. The plants are heavily-laden with thin-skinned, pinkish-red fruit, full of rich, classic, well-balanced tomato flavor. I have found they are quite prone to cracking due to having such thin skins, but regardless, they will be grown in my garden for many years to come due to their outstanding yields and delicious flavor.

Kellogg’s Breakfast

These sweet, sunshiney slicers are low acid and delightfully sweet! They are pure gold, both literally and metaphorically. I have tried a few different Yellow and Orange beefsteak varieties throughout the years and none have matched Kellogg’s Breakfast, so far. I find the gold varieties ripen a bit slower, and I’ve honestly had a difficult time getting some of the other notable varieties to ripen before our first frost. If you are the type of person who is into a really high acid tomato, then Kellogg’s probably isn’t for you. I love a pleasantly sweet & mild tomato, though, and these go down oh-so-smooth!

Cuostralee

Best Tomatoes_ Cuostralee.png

This French heirloom variety continuously produces an abundance of flawless fruits for me, all summer long. The fruit quality is really high, with most fruits being at least 12 oz and many being over 1 lb of meaty, rich, old-fashioned, flavorful beefsteak tomato goodness. I also find the plants to be very healthy, with little foliar die-off and lots of vigor. All around, Cuostralee is a queen in my garden, complete with green calyx crown. She has all the performance that a hybrid offers, with all the goodness and flavor of an heirloom.

Brandywine

Best Tomatoes_ Pink BW.png

Pink Brandywine (& Yellow Brandywine) are both as delicious as the hype. The plants aren’t very productive, but brandywines yield quality over quantity. I find they have a creamy-sweetness to them, and all around excellent flavor. They don’t store all that well, so eat them within a day or two of picking. And definitely, save your Brandywines to be savored as perfect dinner or breakfast slices—don’t waste their ambrosial flavor on salsa or sauce. Sadly, if you live somewhere plagued with fungal and bacterial tomato diseases, Brandywine might not be the girl for you.

Rosella Purple

Best Tomatoes_ Rosella.png

Rosella Purple is an extra special tomato, because she is actually a Dwarf Tomato. If you have grown Cherokee Purple—love the flavor, but hate the poor yields—give Rosella a try! Dwarf Tomatoes are stout, sturdy plants that grow normal-sized tomatoes. They grow only about 3-4 feet tall and can be perfectly contained by a store-bought tomato cage—and that’s really saying something, because my regular tomatoes are usually 8+ feet tall! Rosella Purples have rich, complex, savory, with just a hint of sweet, true tomato flavor. And I am surprised how such a small plant can produce such an abundance of these beauties. I have purchased and grown all of my dwarf tomatoes with seeds from Victory Seeds.

Irresistible Cinnamon Knots

Cinnamon Knots Cover.png

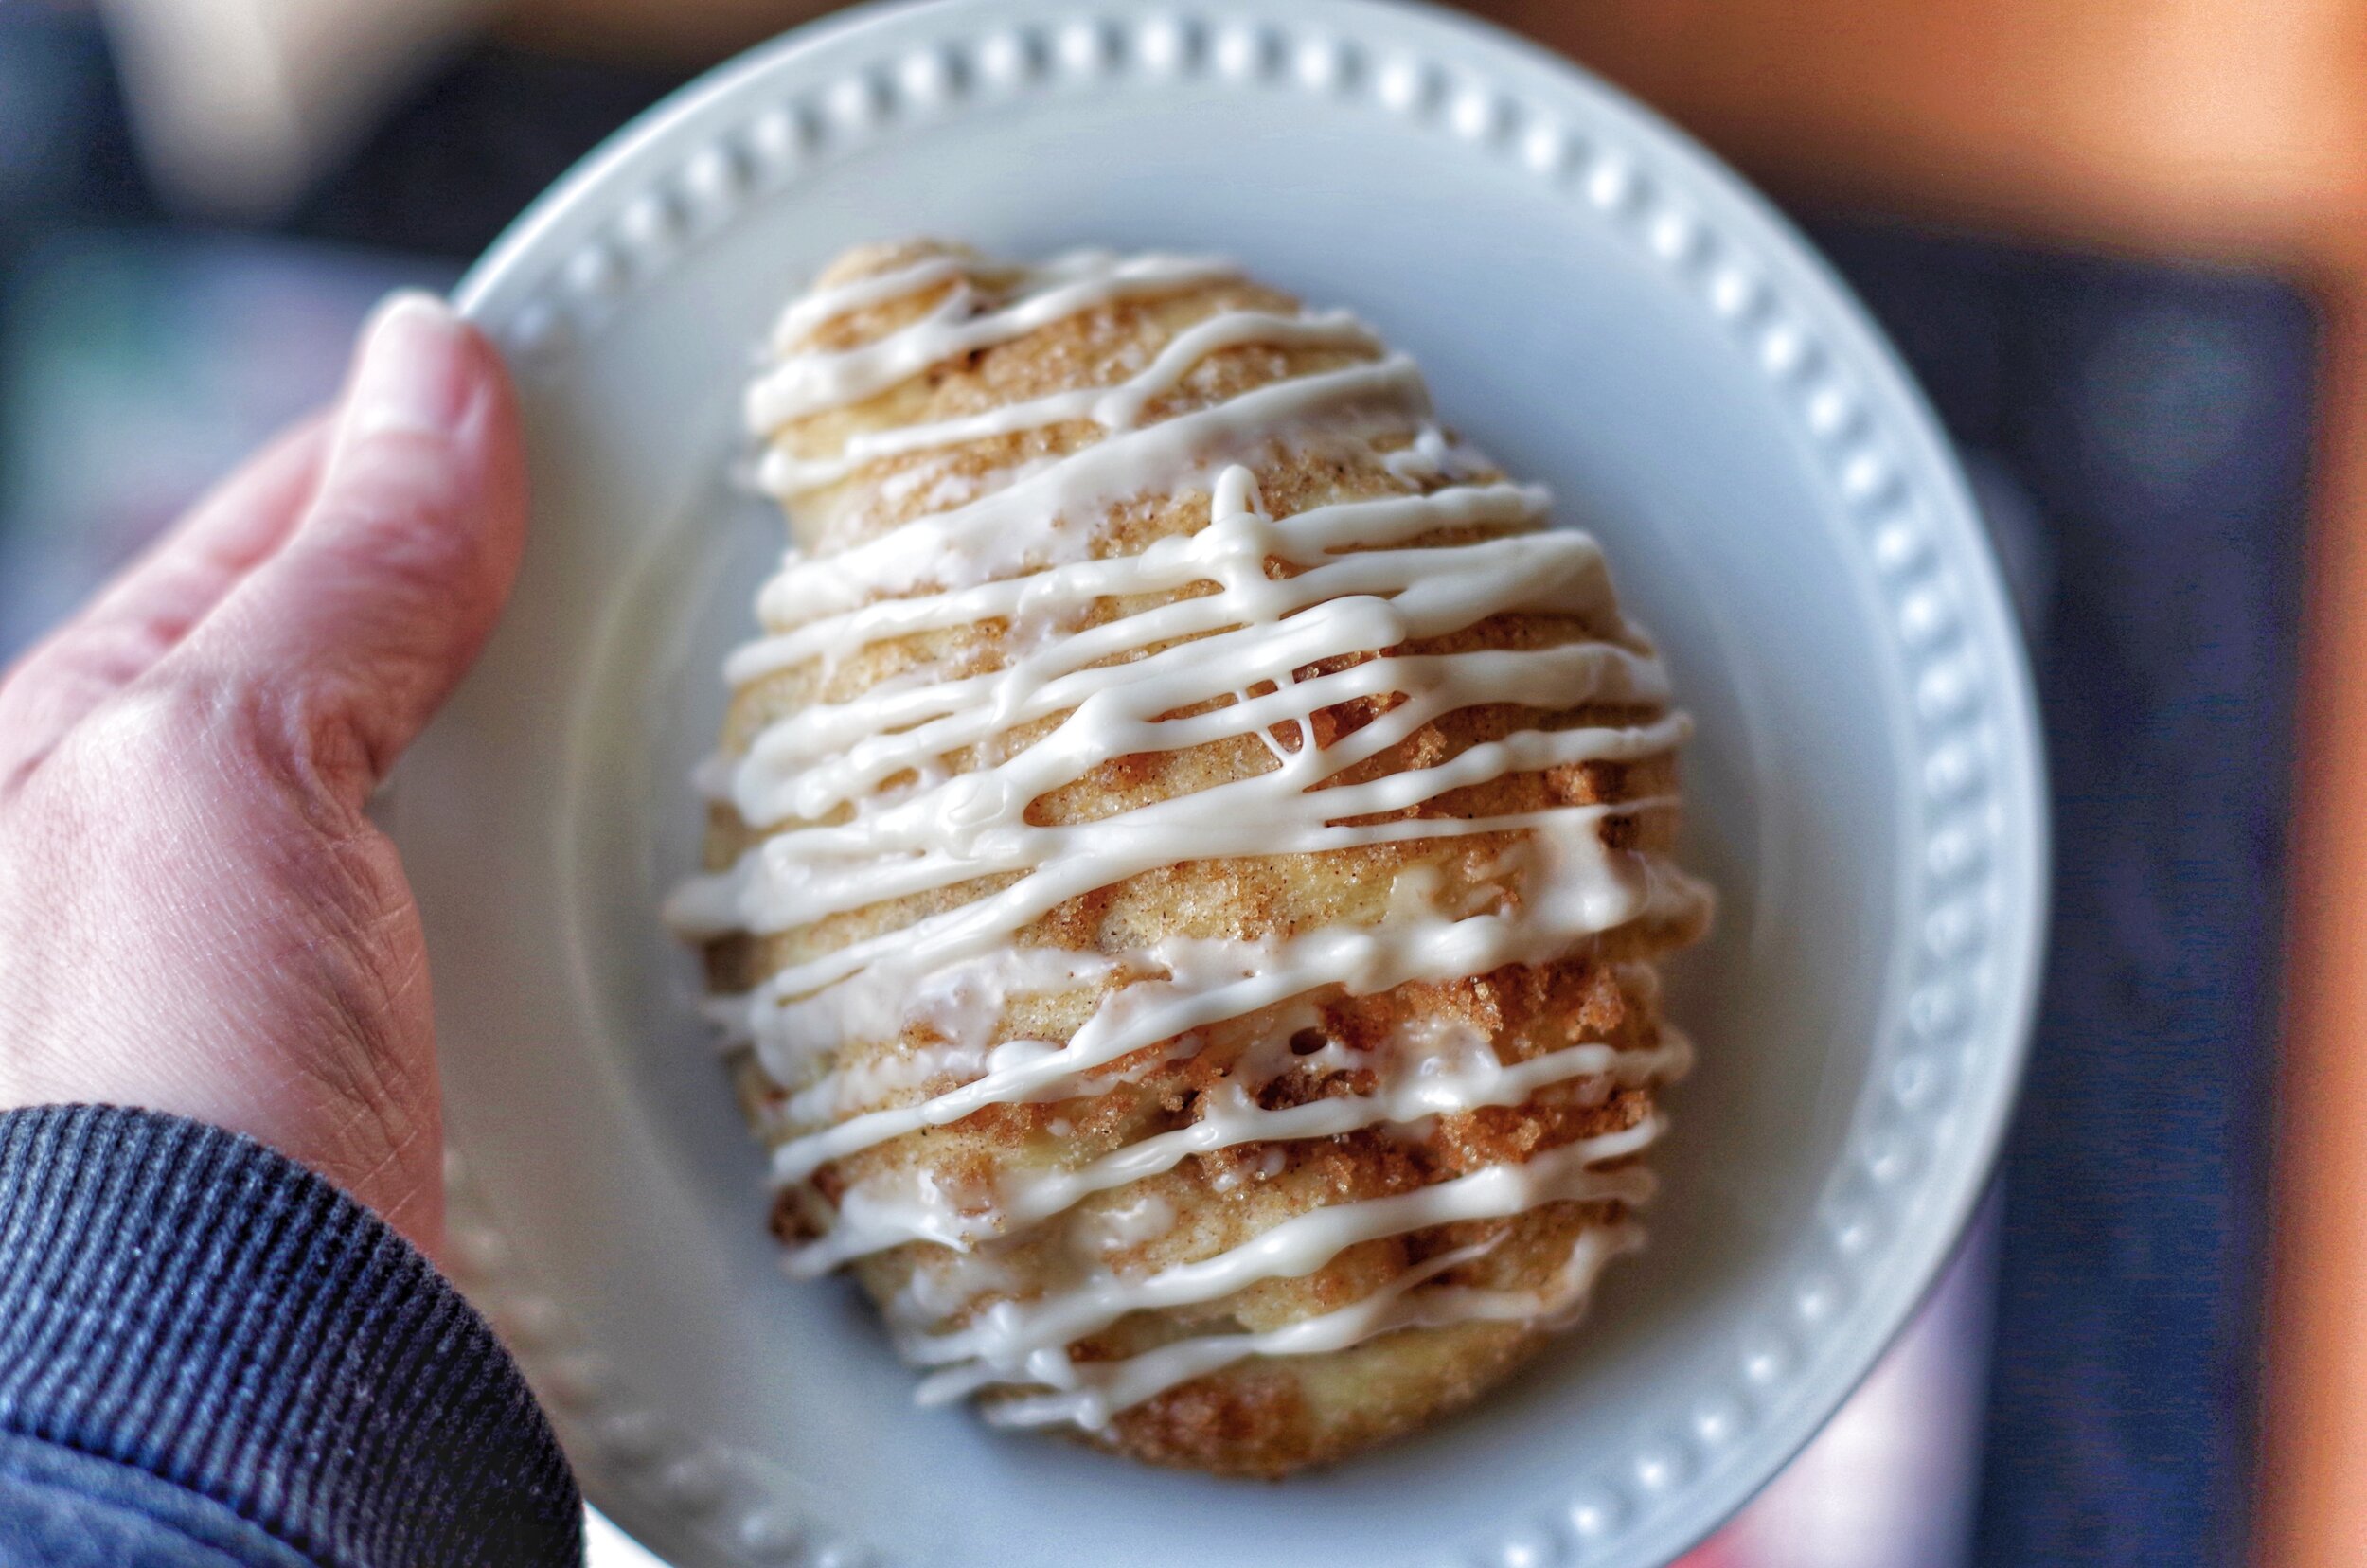
An Irresistible Treat

We have neighbors who are relatively health-conscious, especially the husband. He won’t go near desserts because they have too much added sugar. At any rate, we did some house-sitting for them recently, checking in on their house, feeding their horses, and making sure their dogs were entertained and cared for. On the last day, I left them a couple of my cinnamon knots. Within just a couple days, they were asking me if they could pay me to make them some more—turns out, they are “Irresistible”. Their words, not mine!

So anyway, the story behind these Cinnamon Knots is actually silly. I started making them because, when it comes to men (especially men who’s mothers are good cooks), they are always comparing recipes to their mama’s cooking. Maybe not all men, but lot’s of the men I know or have crossed paths with do this—sometimes without even realizing it. You make them XYZ, and they tell you something like, “Well when my mom makes XYZ, she does it this way.” Or their wife makes them XYZ, and while they are telling you about it, they are like, “My wife makes XYZ good, but my mom makes it the very best.” So when I met Hunter and he told me tens of thousands of times that his mother makes the best cinnamon rolls ever, I decided right then and there, that I wasn’t going to mess with perfection. No way would I ever make cinnamon rolls and set myself up for that comparison! So instead, I came up with this recipe for Cinnamon Knots. Hunter loves them, his co-workers love them, the neighbors love them, and unfortunately for my waistline, I love them too!

Sweet rolls with a twist

Cinnamon knots start with a very basic bread dough. I prefer to make the dough in my bread machine. It can be done without, but why not use this recipe as the gateway to start using that dusty bread machine that is still in the box, out in your garage?! Once you put all of the ingredients for the dough in your bread machine, you select the “Dough” setting, and in less than 2 hours, you have dough that has already gone through it’s first rise.

The dough is then sectioned off into roughly equal-sized portions and worked into small-ish, flat-ish rectangles. A bit of buttery cinnamon sugar is put on each piece of dough, then folded shut. From there, you essentially tie your filled dough into the simplest overhand knot, top it with more buttery cinnamon sugar goodness, and allow it to go through a final rise. Once your knots have risen to roughly twice their size, you bake them until golden brown. Finally, before serving, drizzle your knots with a simple icing and you have delicious and unexpected sweet rolls with a twist.

I have attached the recipe for you, as well as a nifty PRINTABLE VERSION. If you do not want to make the dough in your bread machine, you can easily make it by hand. You can do this in one of two ways, depending on what kind of yeast you have.

INSTANT YEAST: If you have “Instant Yeast" or “Rapid Rise Yeast”, which has a smaller granule size, no proofing will be required. Simply combine your dry ingredients with your packet of yeast, and then mix in all the wet ingredients. You will then knead your dough for 6-8 minutes, until smooth and well-incorporated, place in an oiled bowl, cover, and allow it to rise until roughly doubled in size. This may take less than 30 minutes if you used a rapid or quick rising yeast that comes with some enzyme additives to speed things up. Or, if you had just regular “Instant Yeast", this may take 1 to 1-1/2 hours.

ACTIVE DRY YEAST: If you have “Active Dry” yeast, you will need to proof the yeast, or dissolve it in some water and get it activated. To do this, you will combine the yeast with 1/4 cup of the warm water (110 to 120 degrees F) and 1 teaspoon of the sugar. While the yeast proofs, mix the dry ingredients together—flour, remaining sugar, and salt. Then add the melted butter and remaining warm water. Finally add in the eggs and the foamy, proofed yeast mixture. Knead the dough, by hand, for 6-8 minutes. Then place in a oiled bowl, cover, and allow to rise for about 1 to 1-1/2 hours, or until roughly doubled in size. I like turning my oven on, and allowing things to proof on the stove or near the warm oven—it speeds things up. The dough will rise much faster in a warm place.

Irresistible Cinnamon Knots

Makes 12 knots

Ingredients

For the Dough:

  • 1 cup warm water (at least 110 deg F)

  • ½ cup melted salted butter

  • 2 eggs

  • 4 ½ cups flour

  • ½ cup sugar

  • ½ teaspoon salt

  • 2 ¼ teaspoons active dry yeast

For the Filling:

  • ⅓ cup packed brown sugar

  • ⅓ cup granulated sugar

  • 1 ½ teaspoons Cinnamon

  • Pinch of nutmeg

  • 3 Tablespoons melted salted butter

For the Cinnamon Topping:

  • 4 Tablespoons brown sugar

  • 4 Tablespoons granulated sugar

  • 1 teaspoon cinnamon

  • 3 Tablespoons melted salted butter

    For the Icing:

  • 1 ½ cups powdered sugar

  • 2 Tablespoons melted salted butter

  • 1 teaspoon Vanilla extract

  • 3+ Tablespoons cream/half & half/milk

Directions

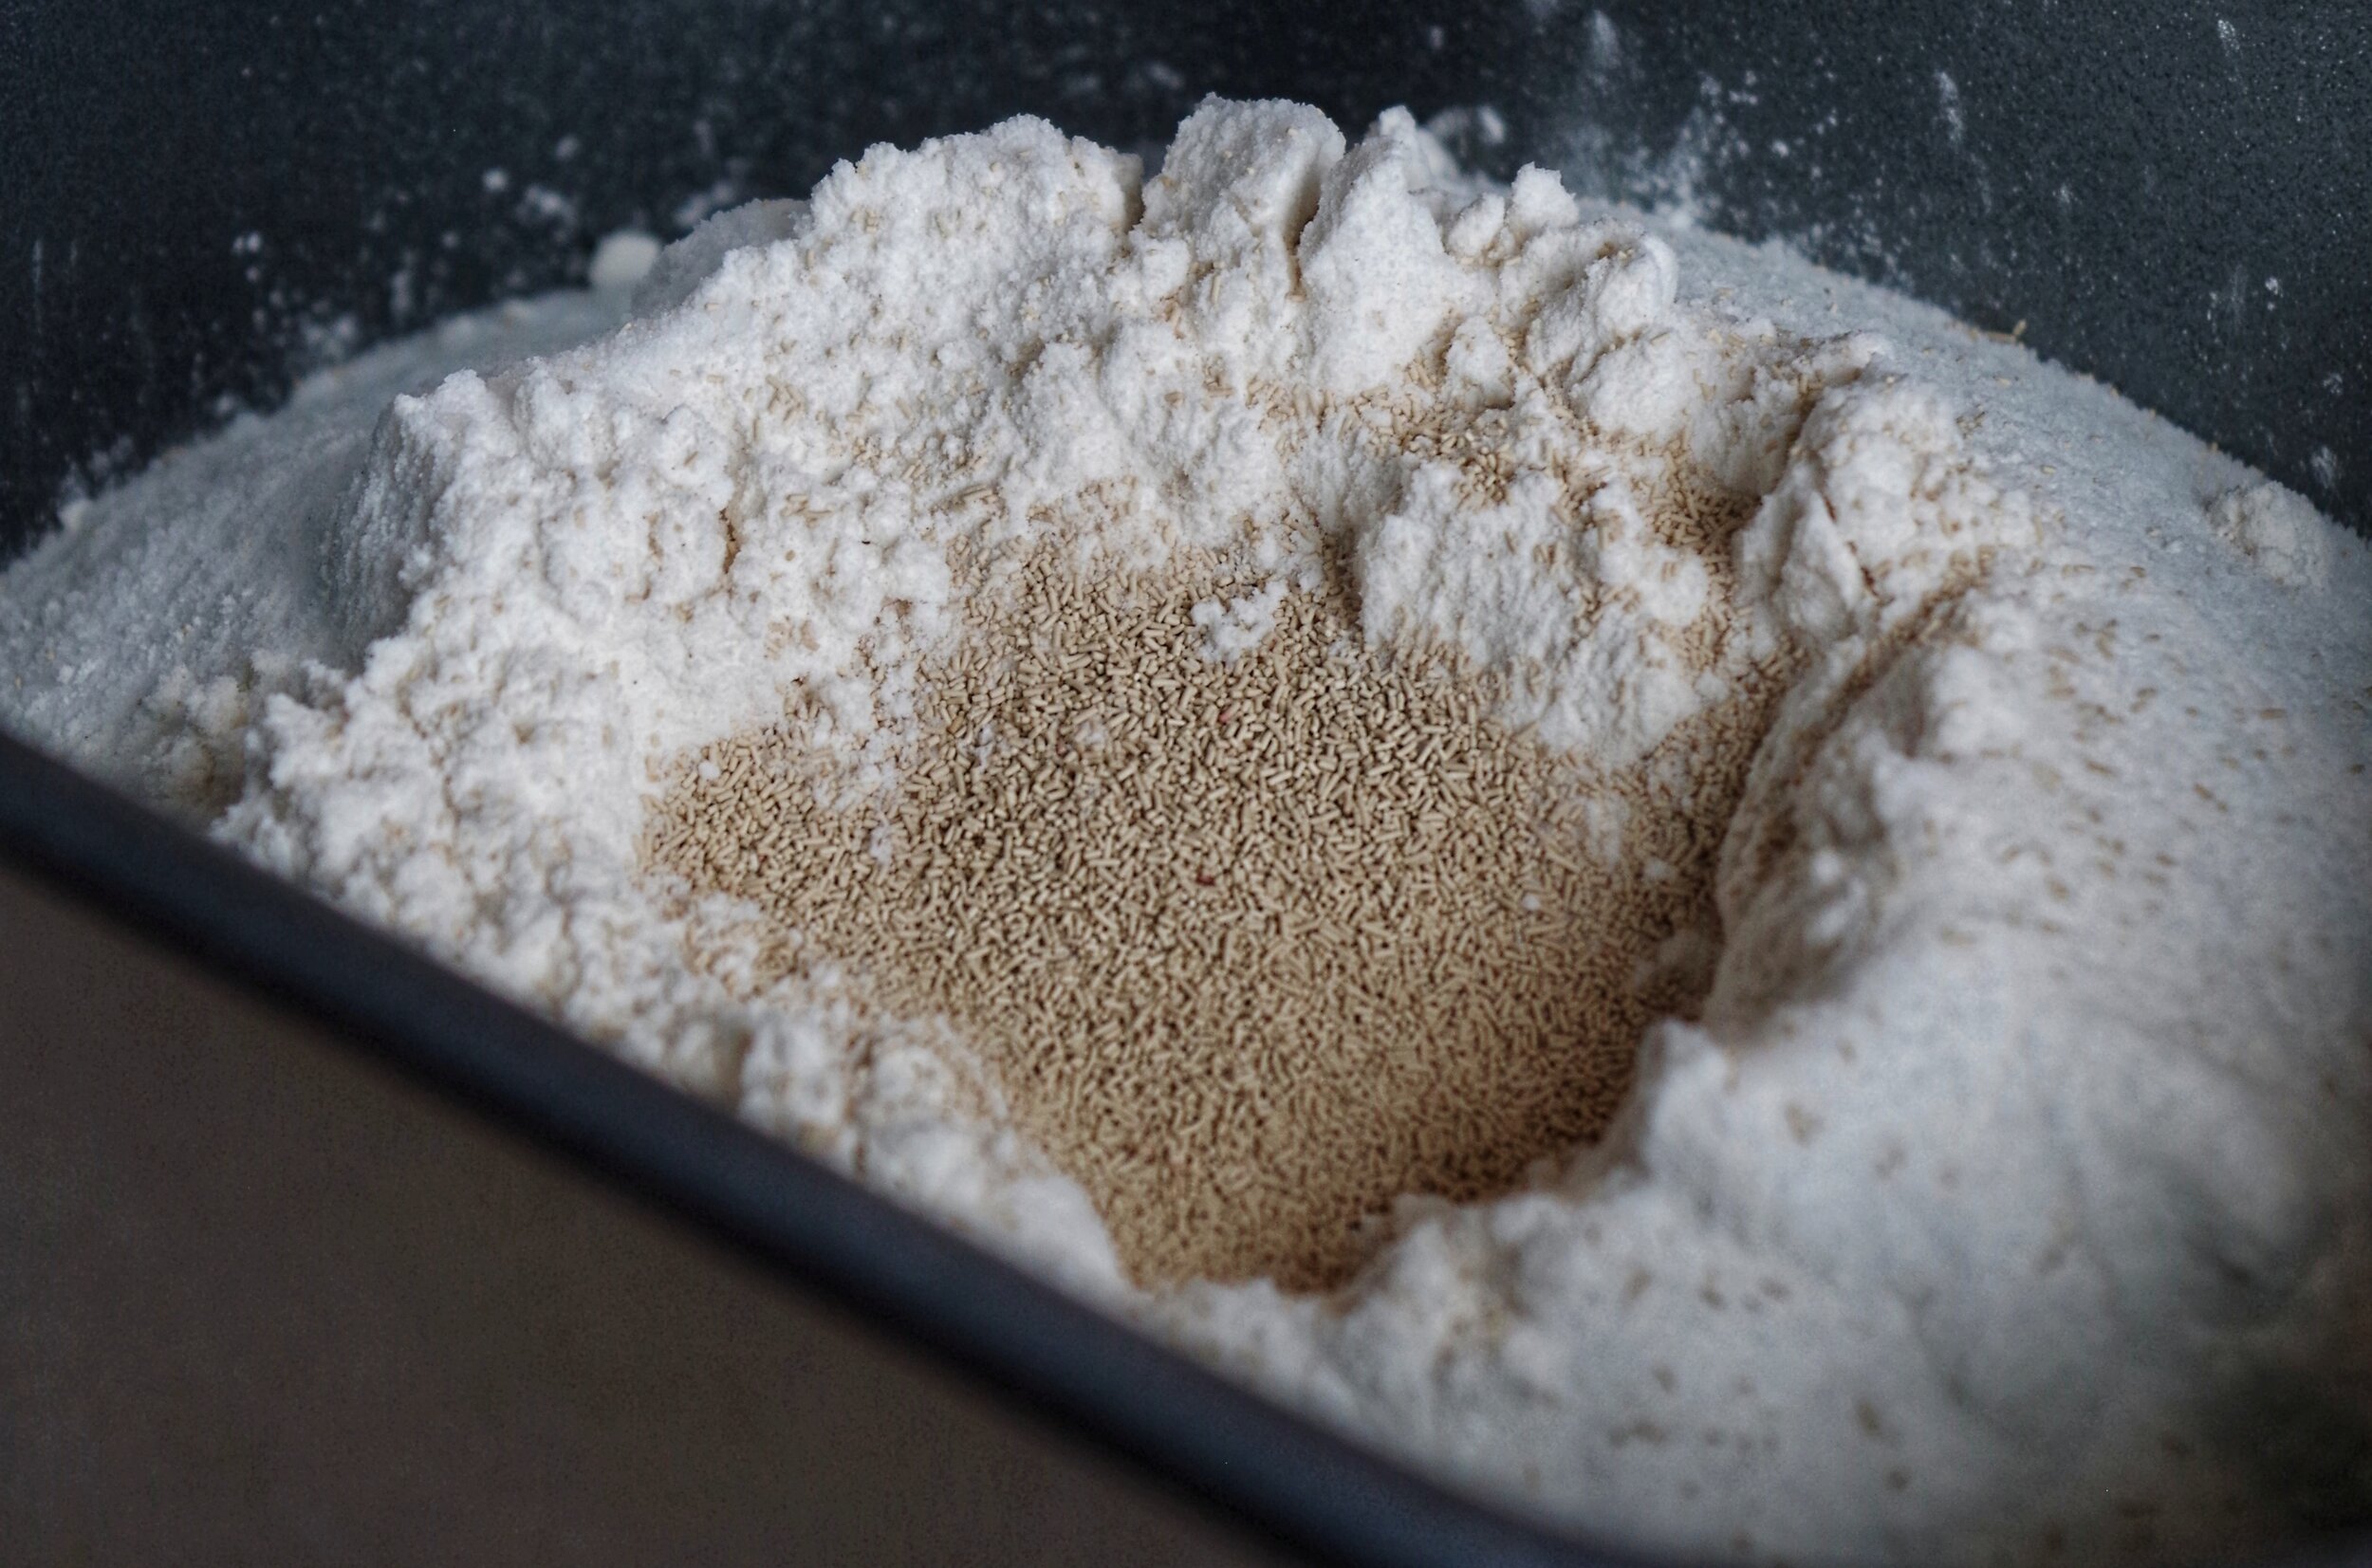
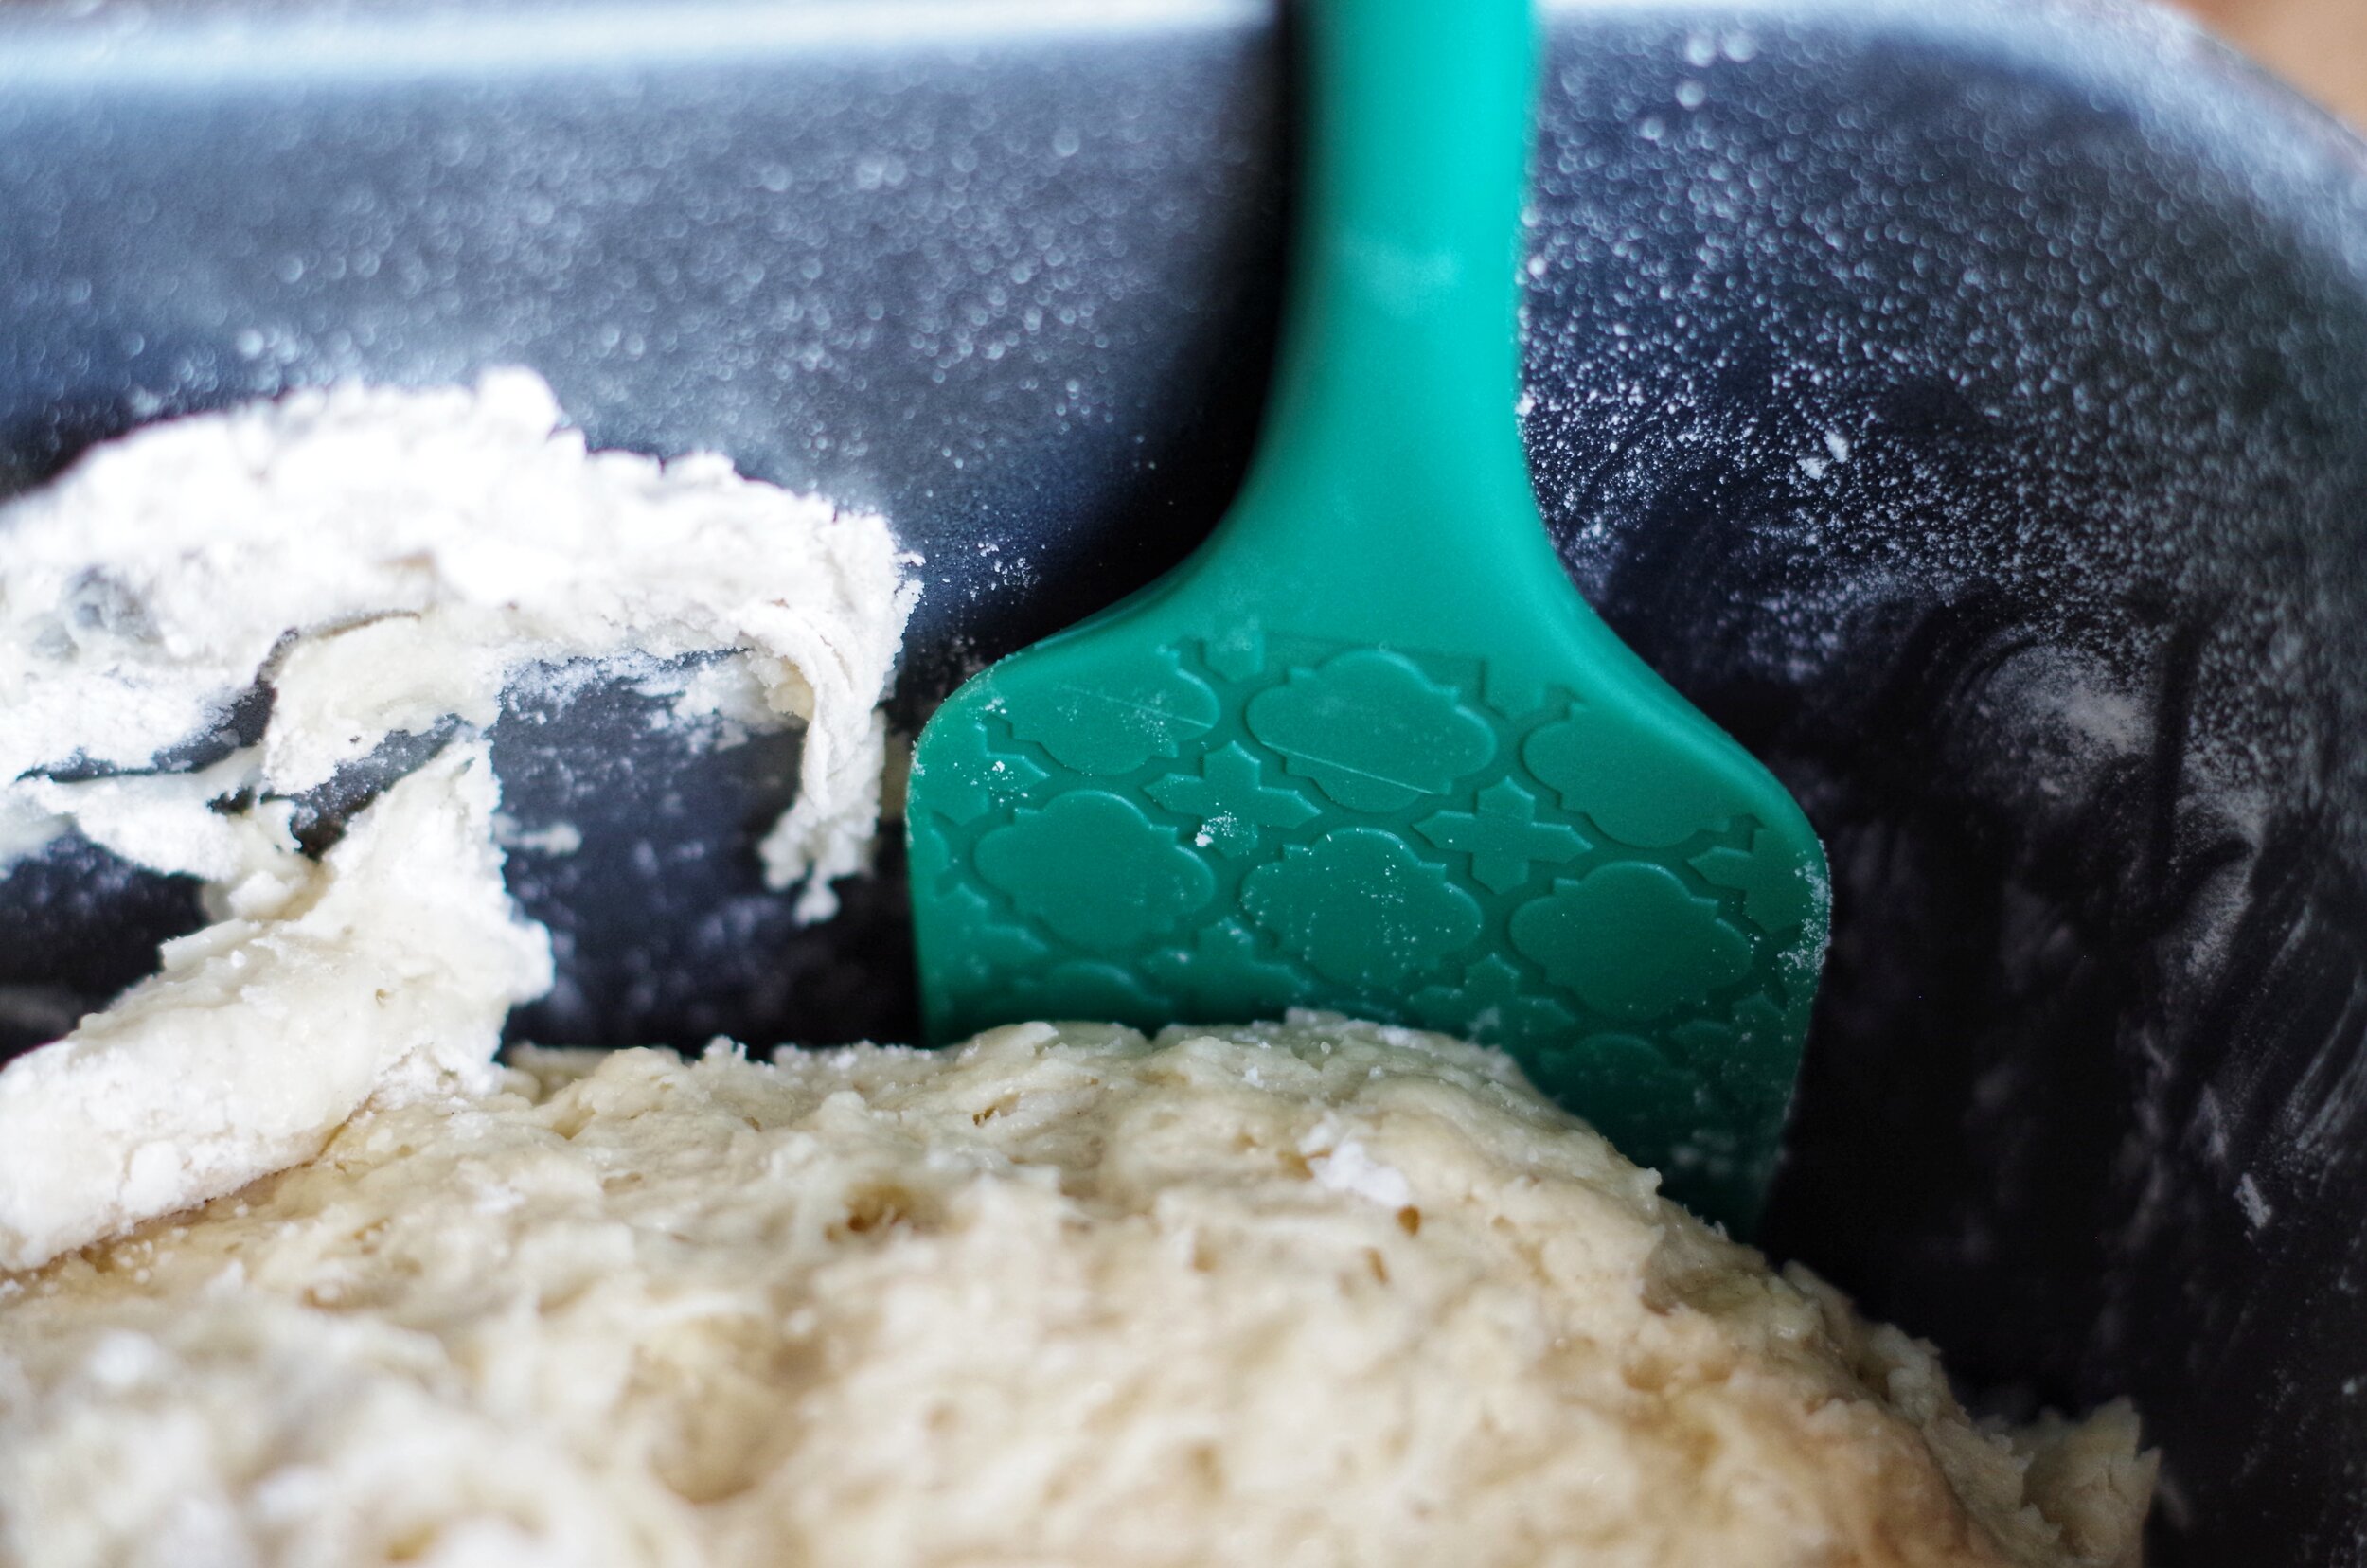
  1. For the Dough: Prepare dough in your bread machine.  All bread machines are slightly different, but dough is prepared in my bread machine, by first putting in all liquid/wet ingredients, then putting in dry ingredients. I heat water in the microwave for about 1 minute, to a temperature of around 120-130 deg F.  (This slight over-warming compensates for the drop in temperature when the water gets added to other ingredients.) Yeast should be added last, by making a well in your dry ingredients. Once all ingredients are in the bread machine, program to “Dough”, then “Start” cycle.  On my bread machine, I am sure to scrape down the sides with a rubber spatula during the first couple of minutes to ensure all ingredients are thoroughly combined. 

  2. Make the Filling: When dough is nearly finished, make the filling by melting 3 T of butter, and mixing it with ⅓ c packed brown sugar, ⅓ c white sugar, 1½ t cinnamon, and a healthy pinch of nutmeg. Set aside.

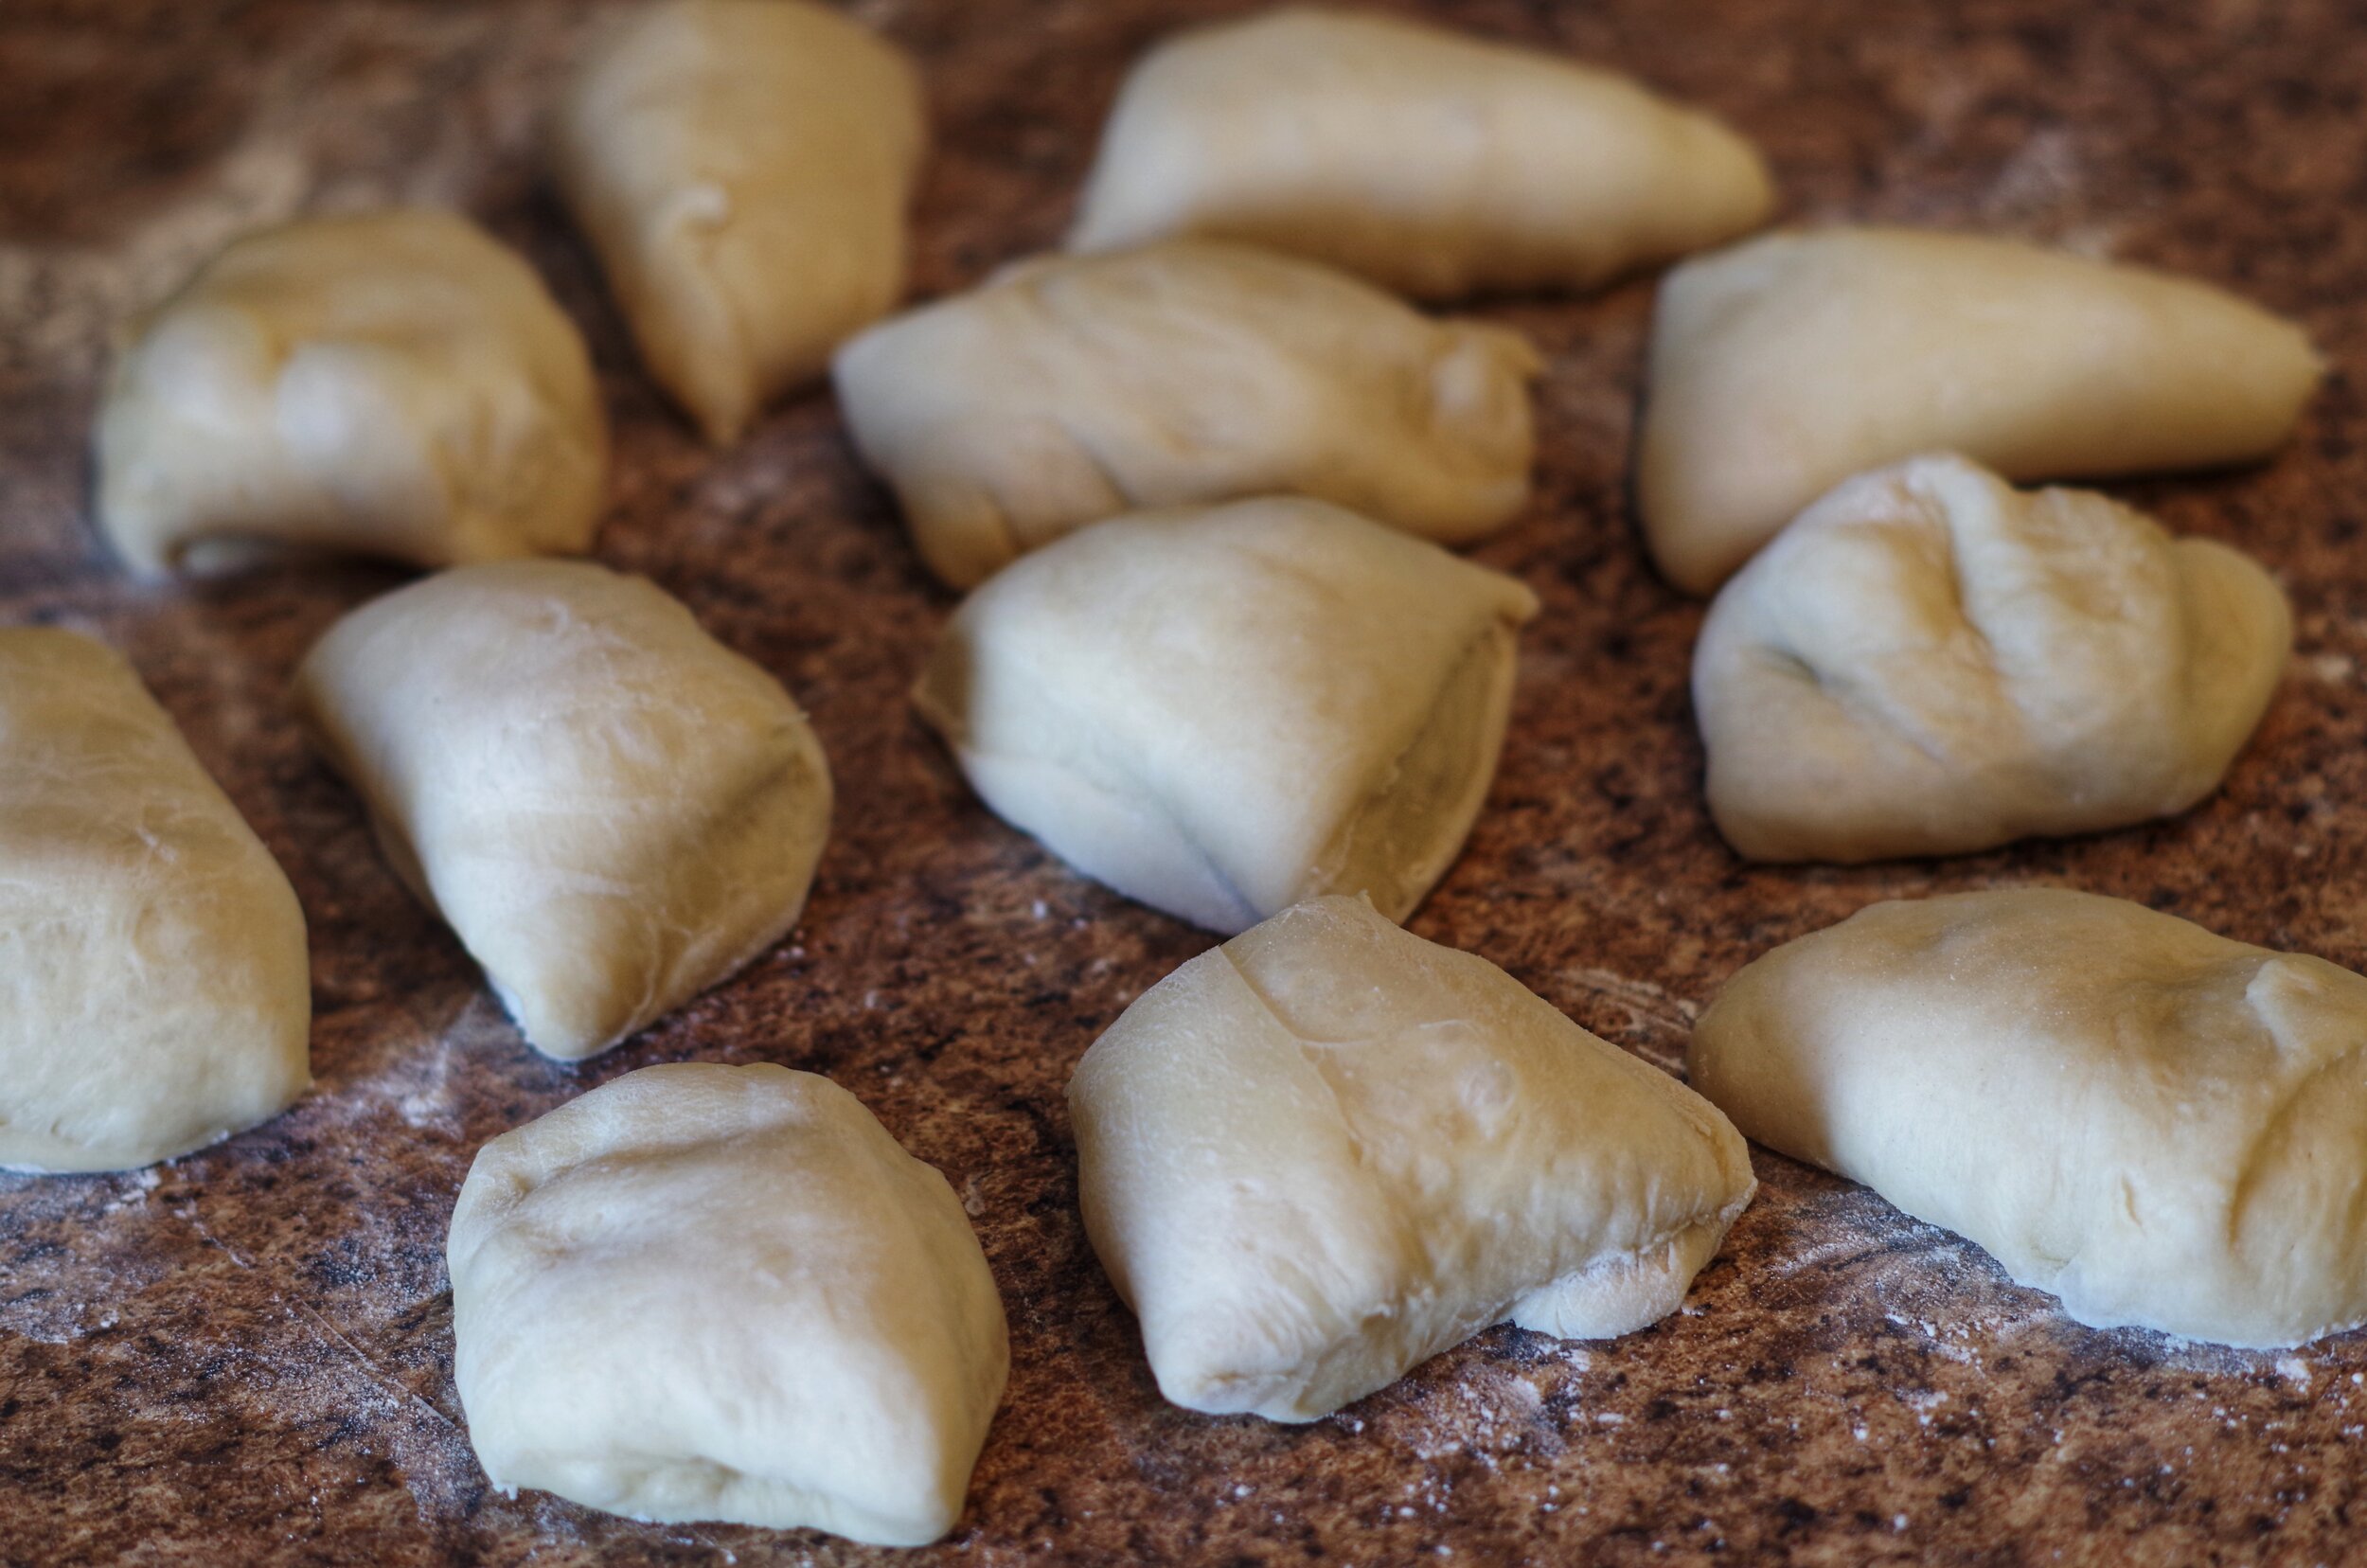
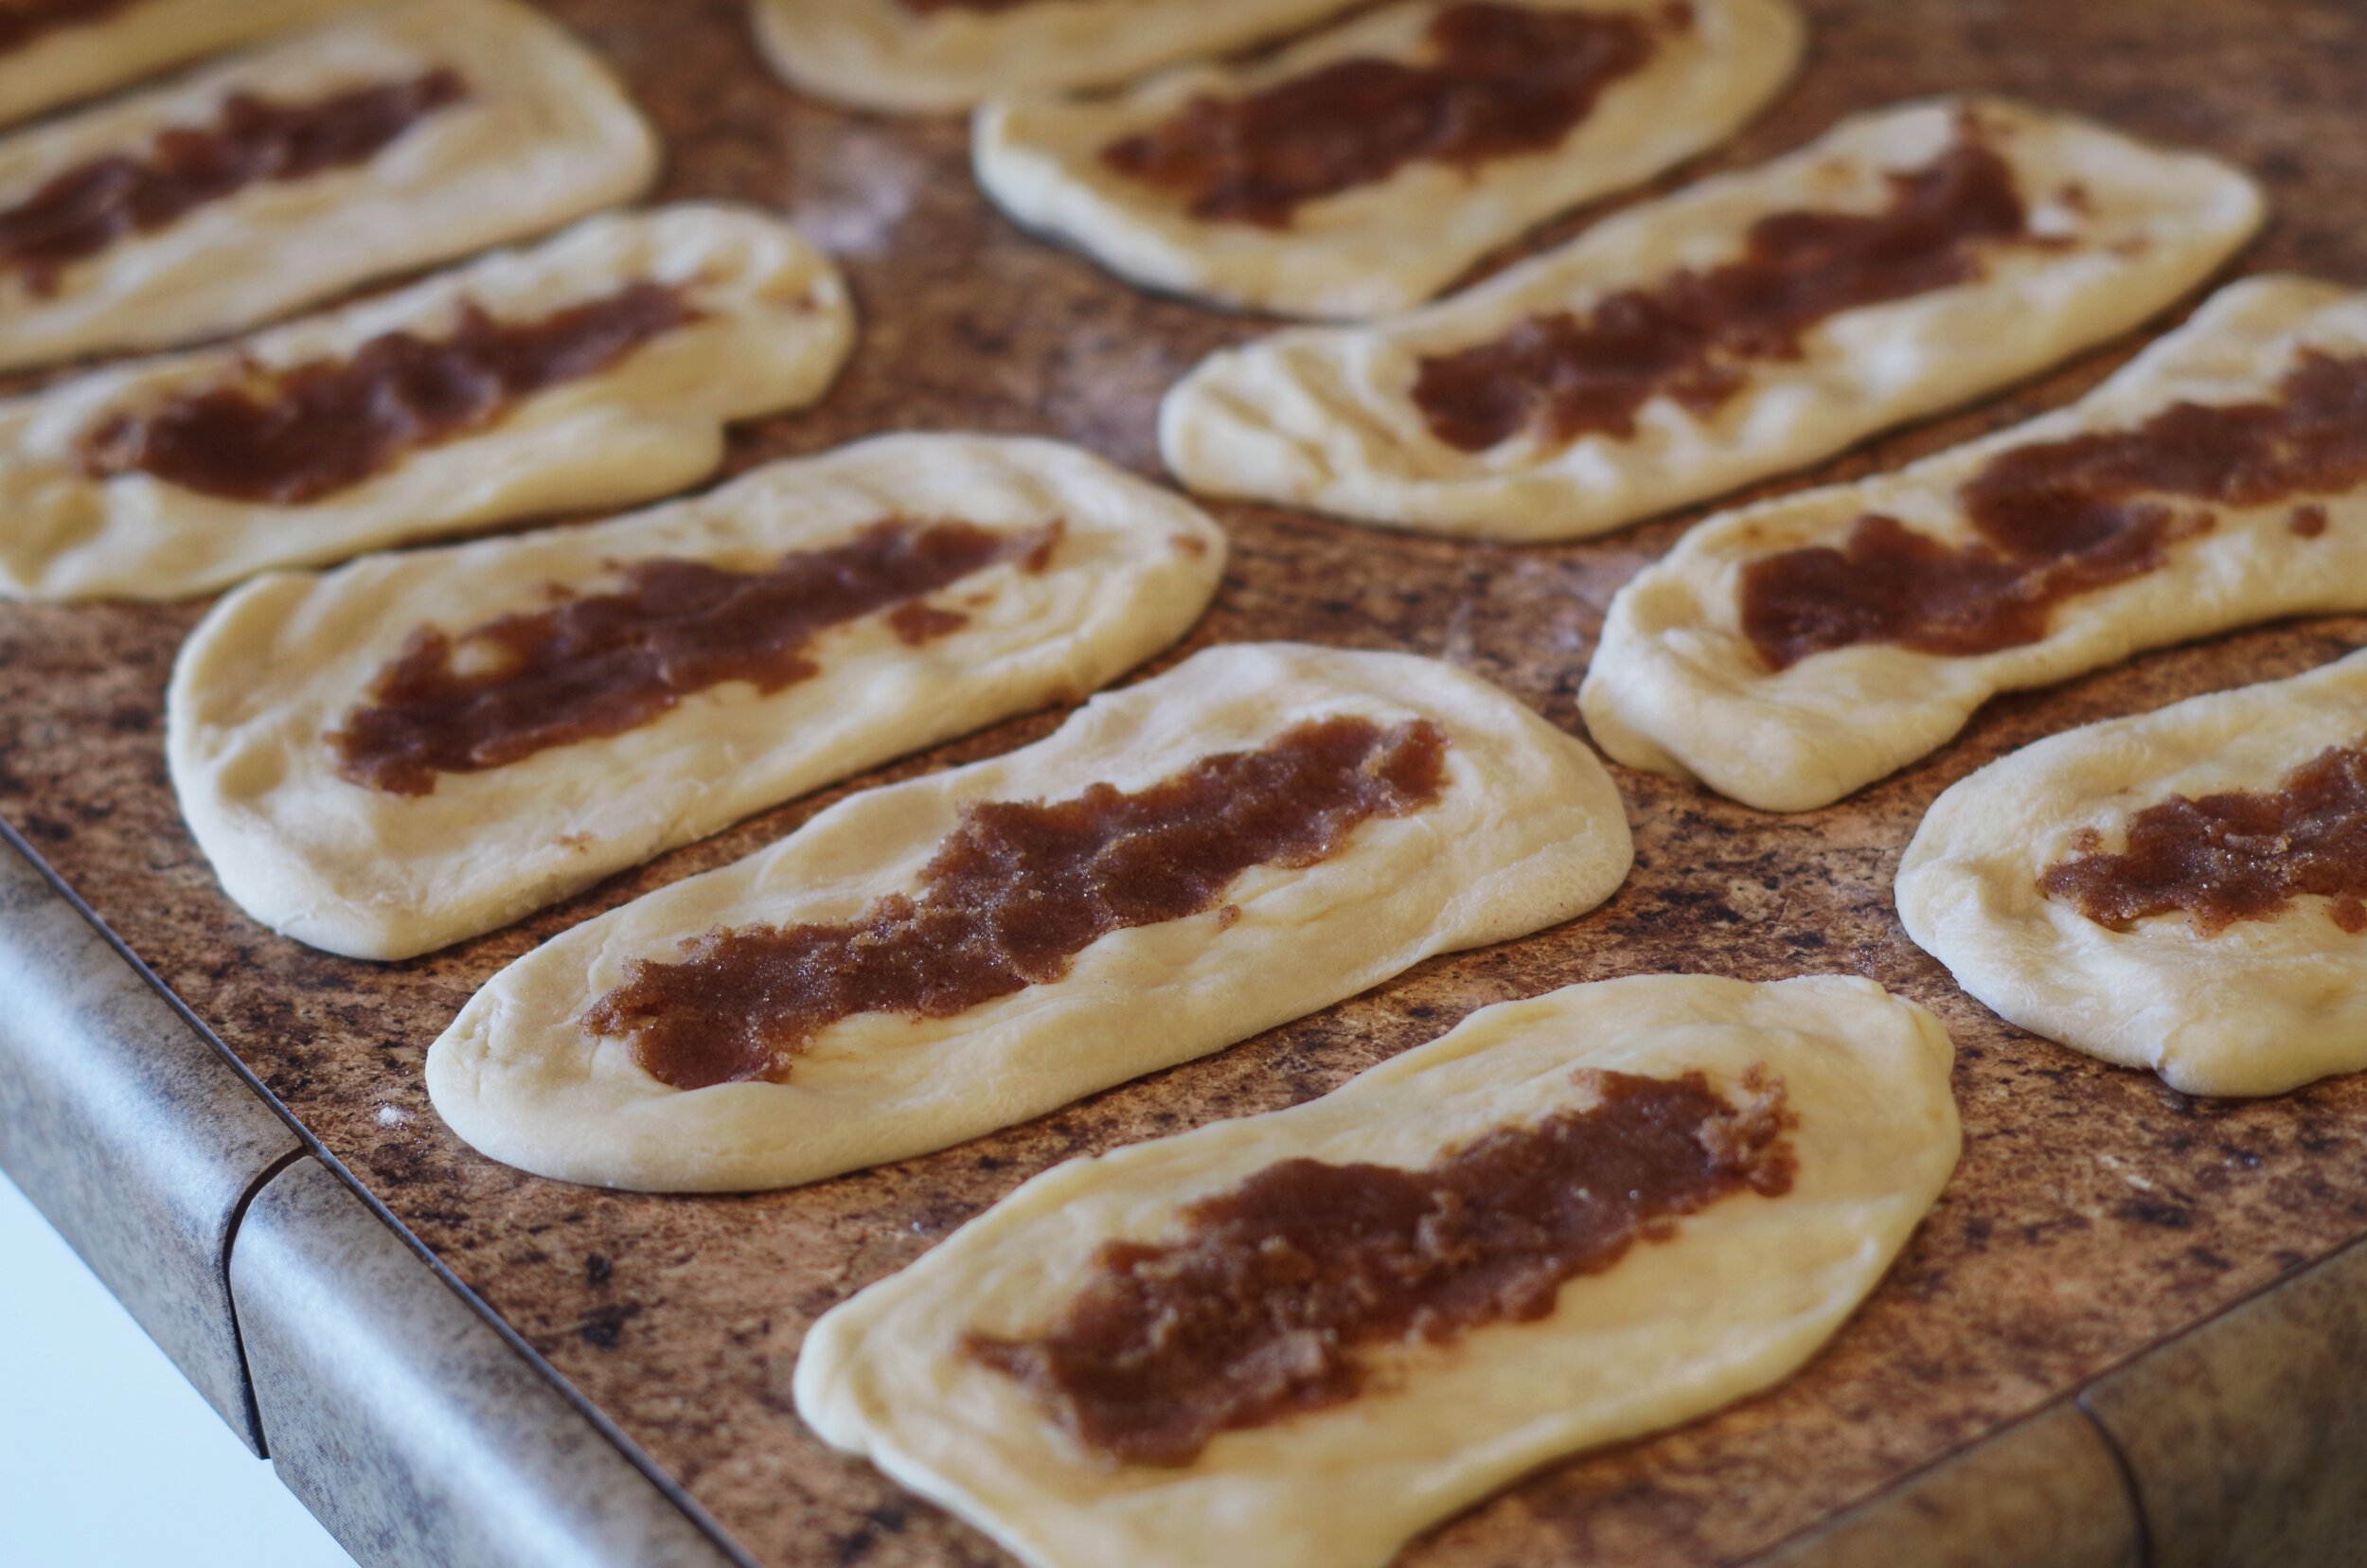
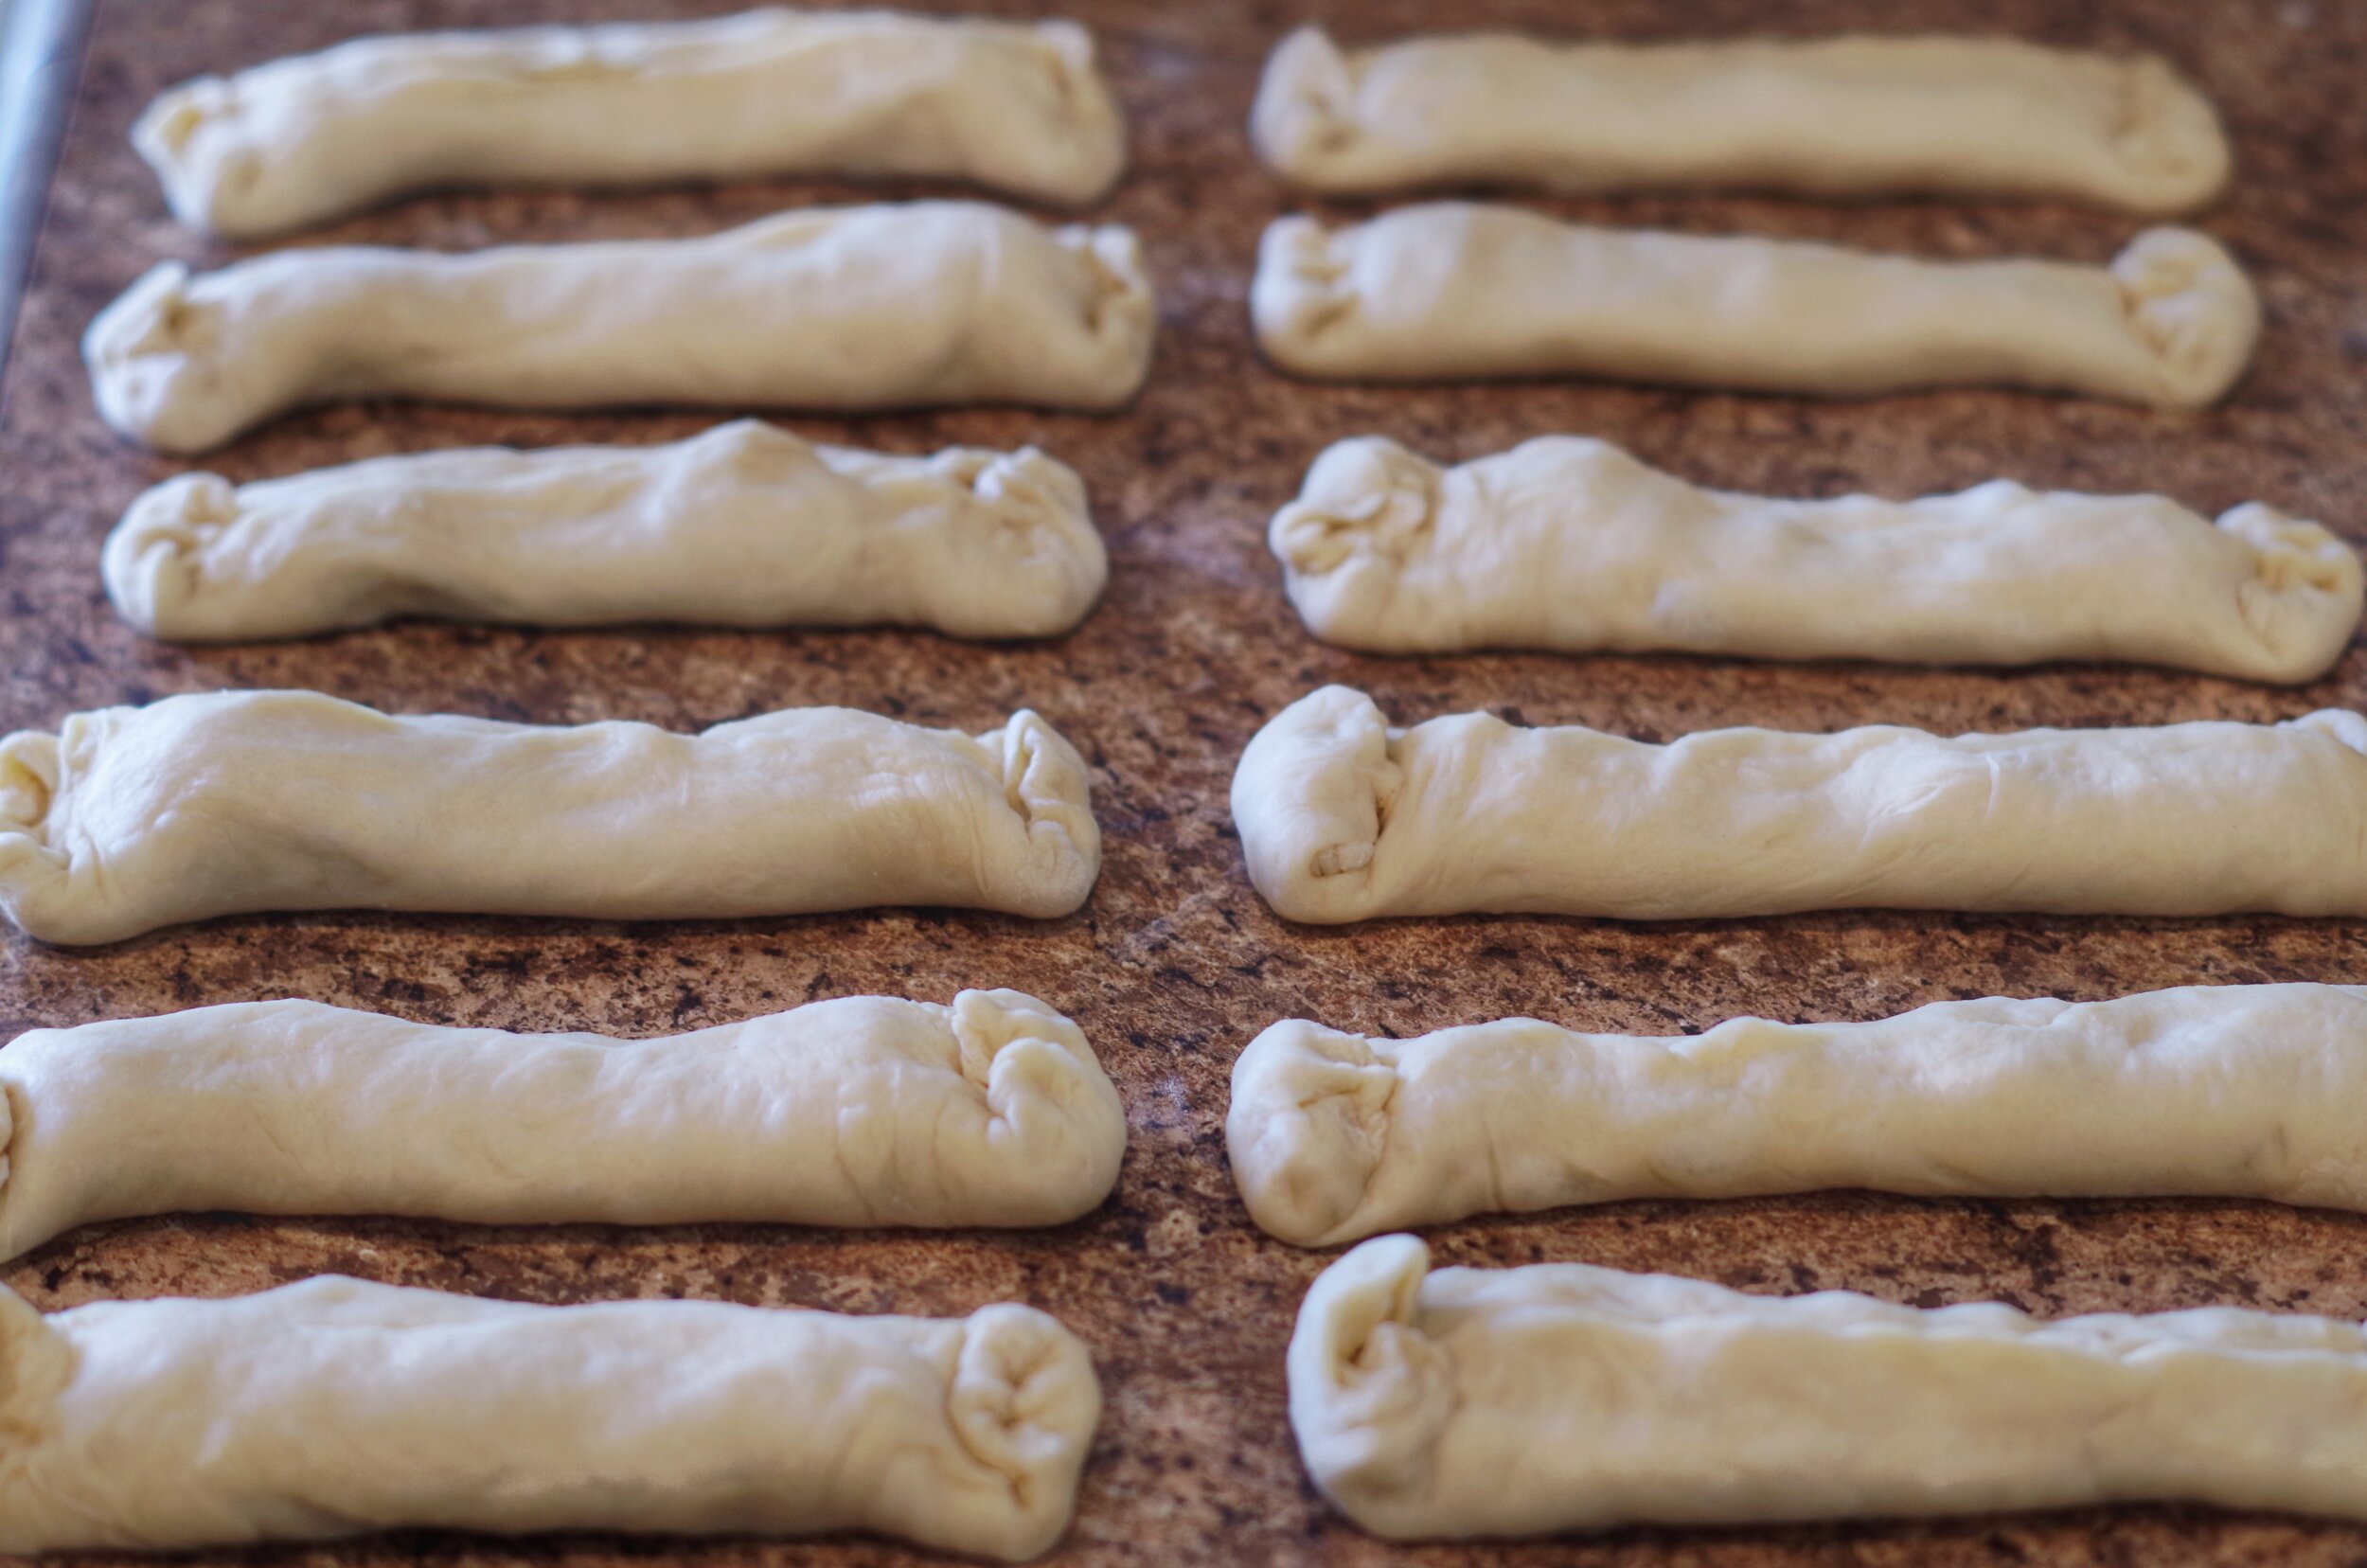
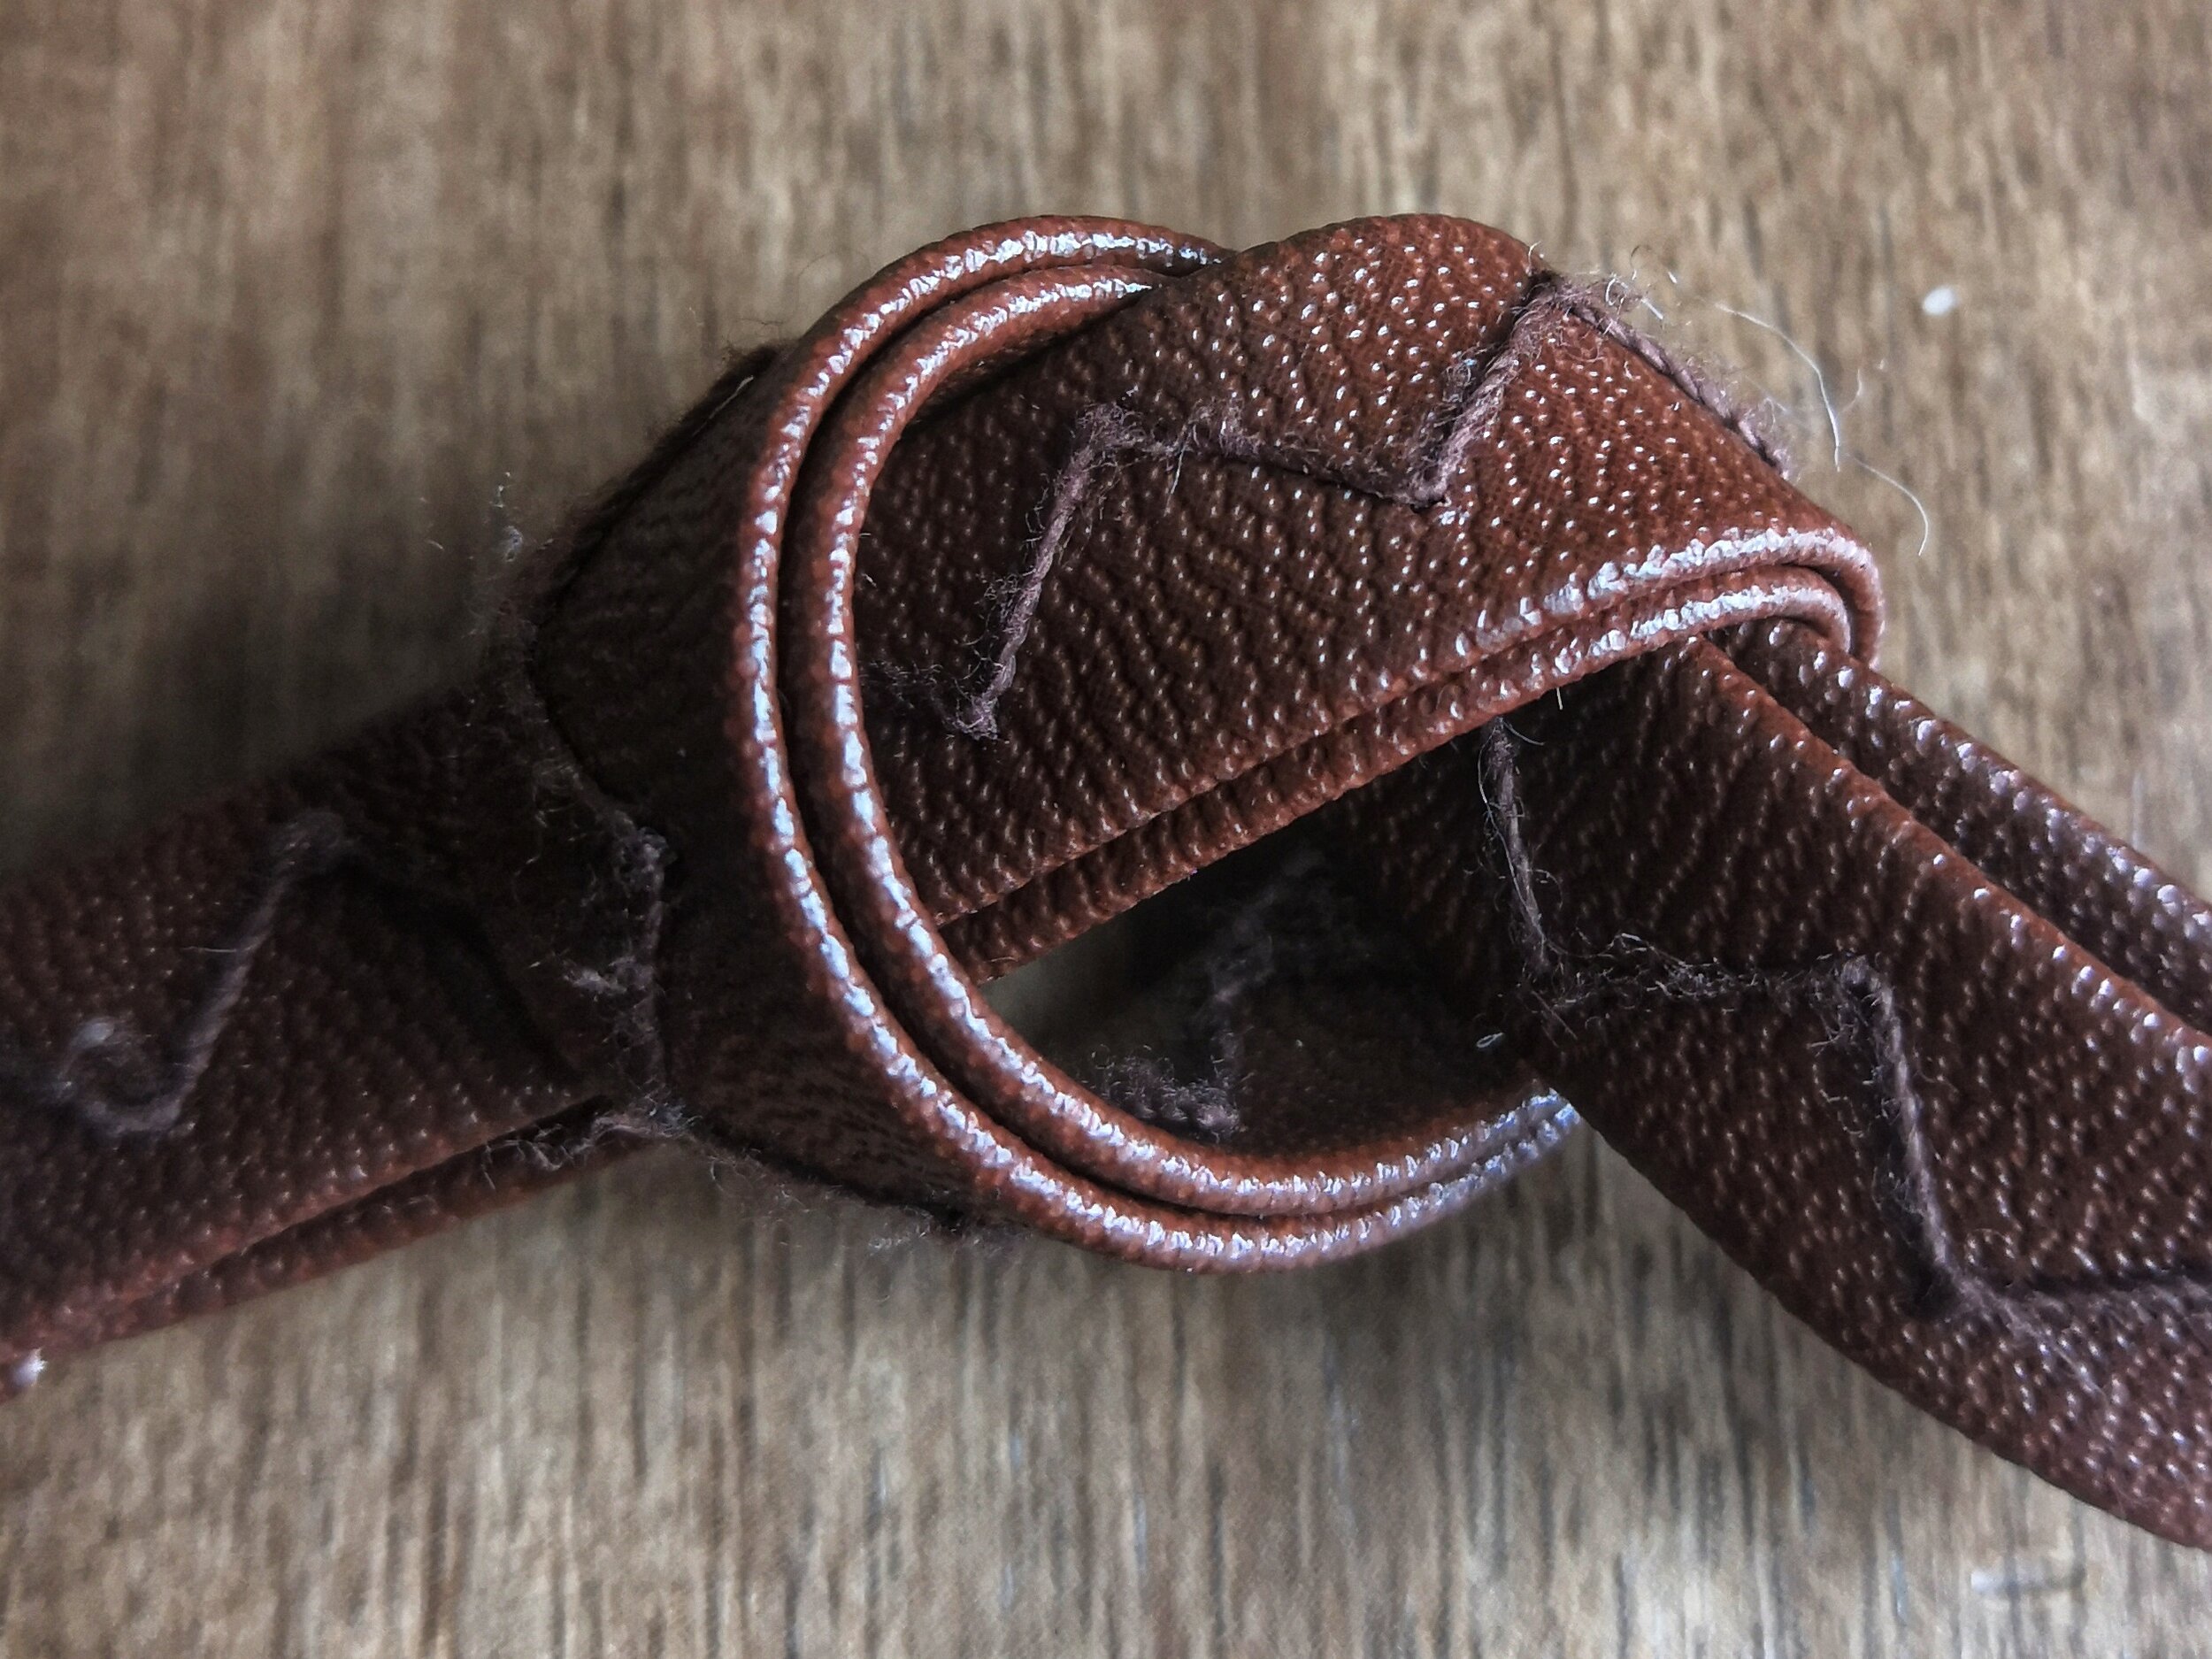
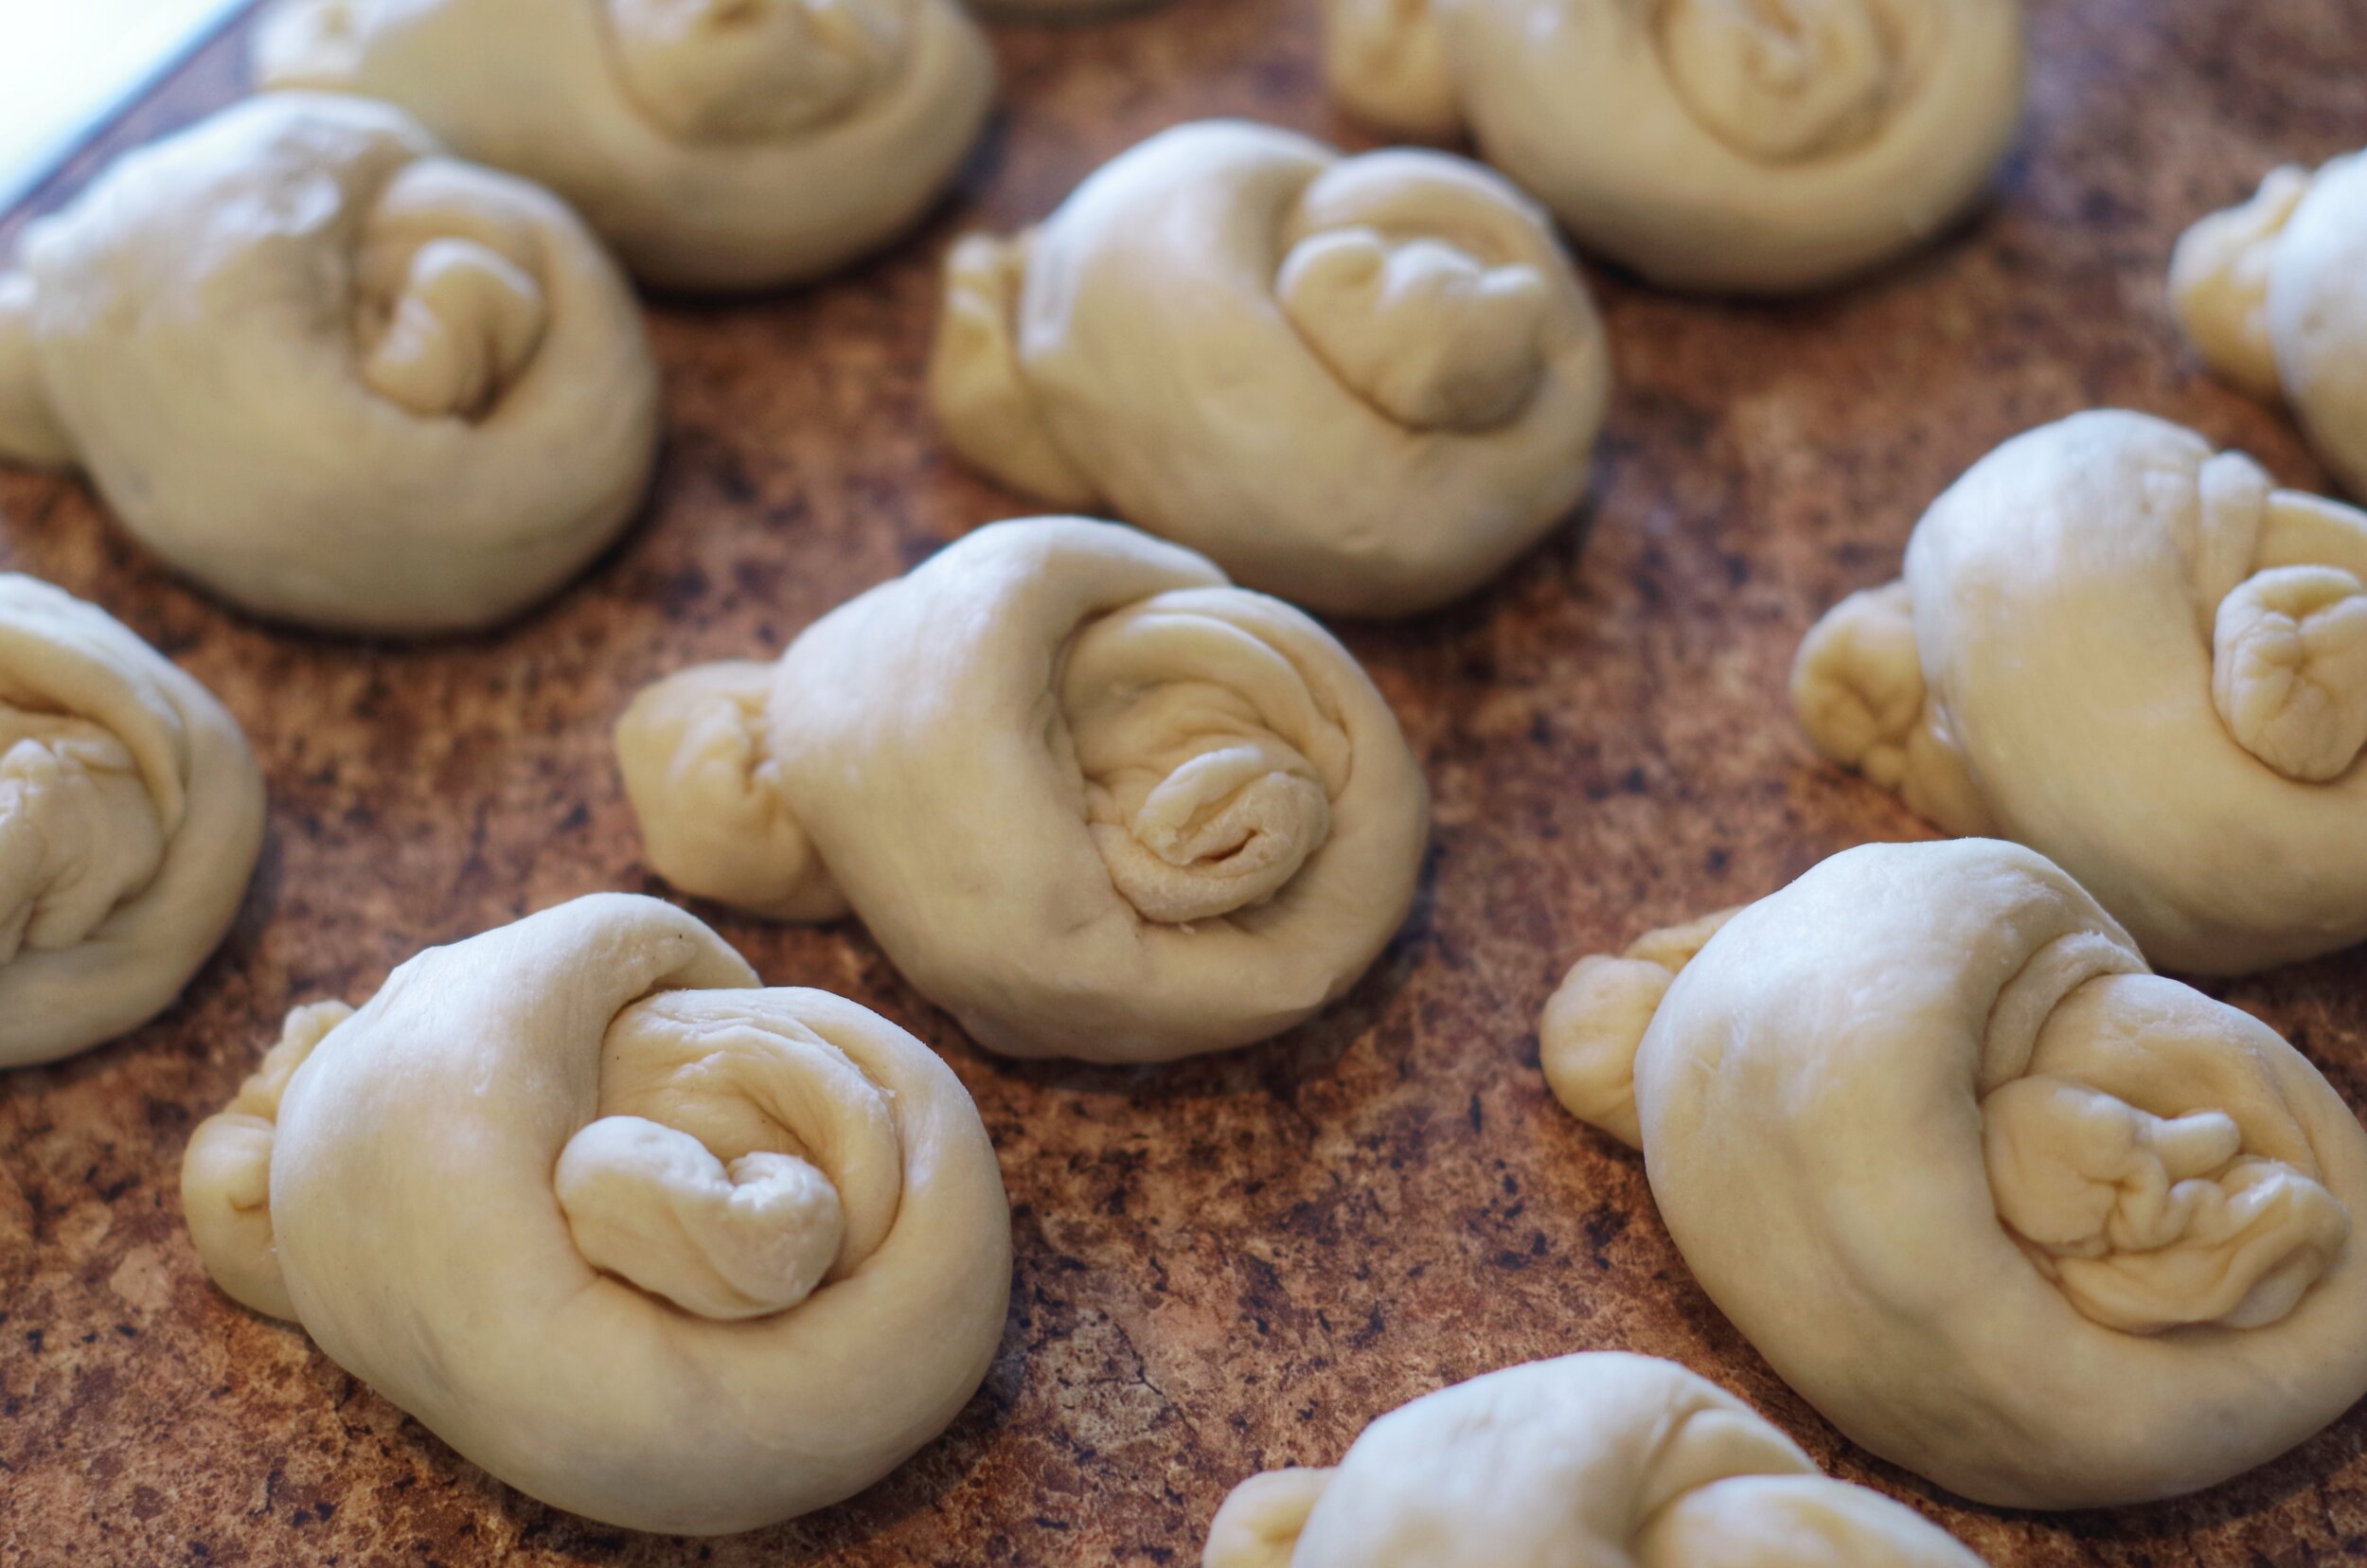
  3. Shape the Knots: Your bread machine will indicate when the dough is ready, and has undergone it’s first rise.  My machine takes 90 minutes. At this time, remove dough to a lightly floured surface, and divide it into quarters, then section each quarter into 3 pieces.  You should end up with 12 pieces total. Roll each piece and begin to flatten and shape into 12 rectangles, each measuring approximately 7”x3”. Divide filling evenly amongst the flattened rectangles of dough--apply filling in the centers, leaving edges free from filling, so they can seal better.  Now fold/roll each rectangle of dough around the filling. Start with the long, top edge, folding it down over the filling, and pulling the long, bottom edge over the top of the top edge. Pinch to seal as best as you can. You are wanting to enclose the filling. Crimp the outer, short edges together--you can fold these over by about 1 centimeters.  Each piece of filled dough will be the thick “ropes” you knot. Twist each one into a very basic overhand knot. To do this, hold your dough “rope” by each end and create a loop, crossing the ends over each other. Then pull one end through the loop. Not a big deal if the knots open and reveal some of the filling--it will just be a little messier upon baking.

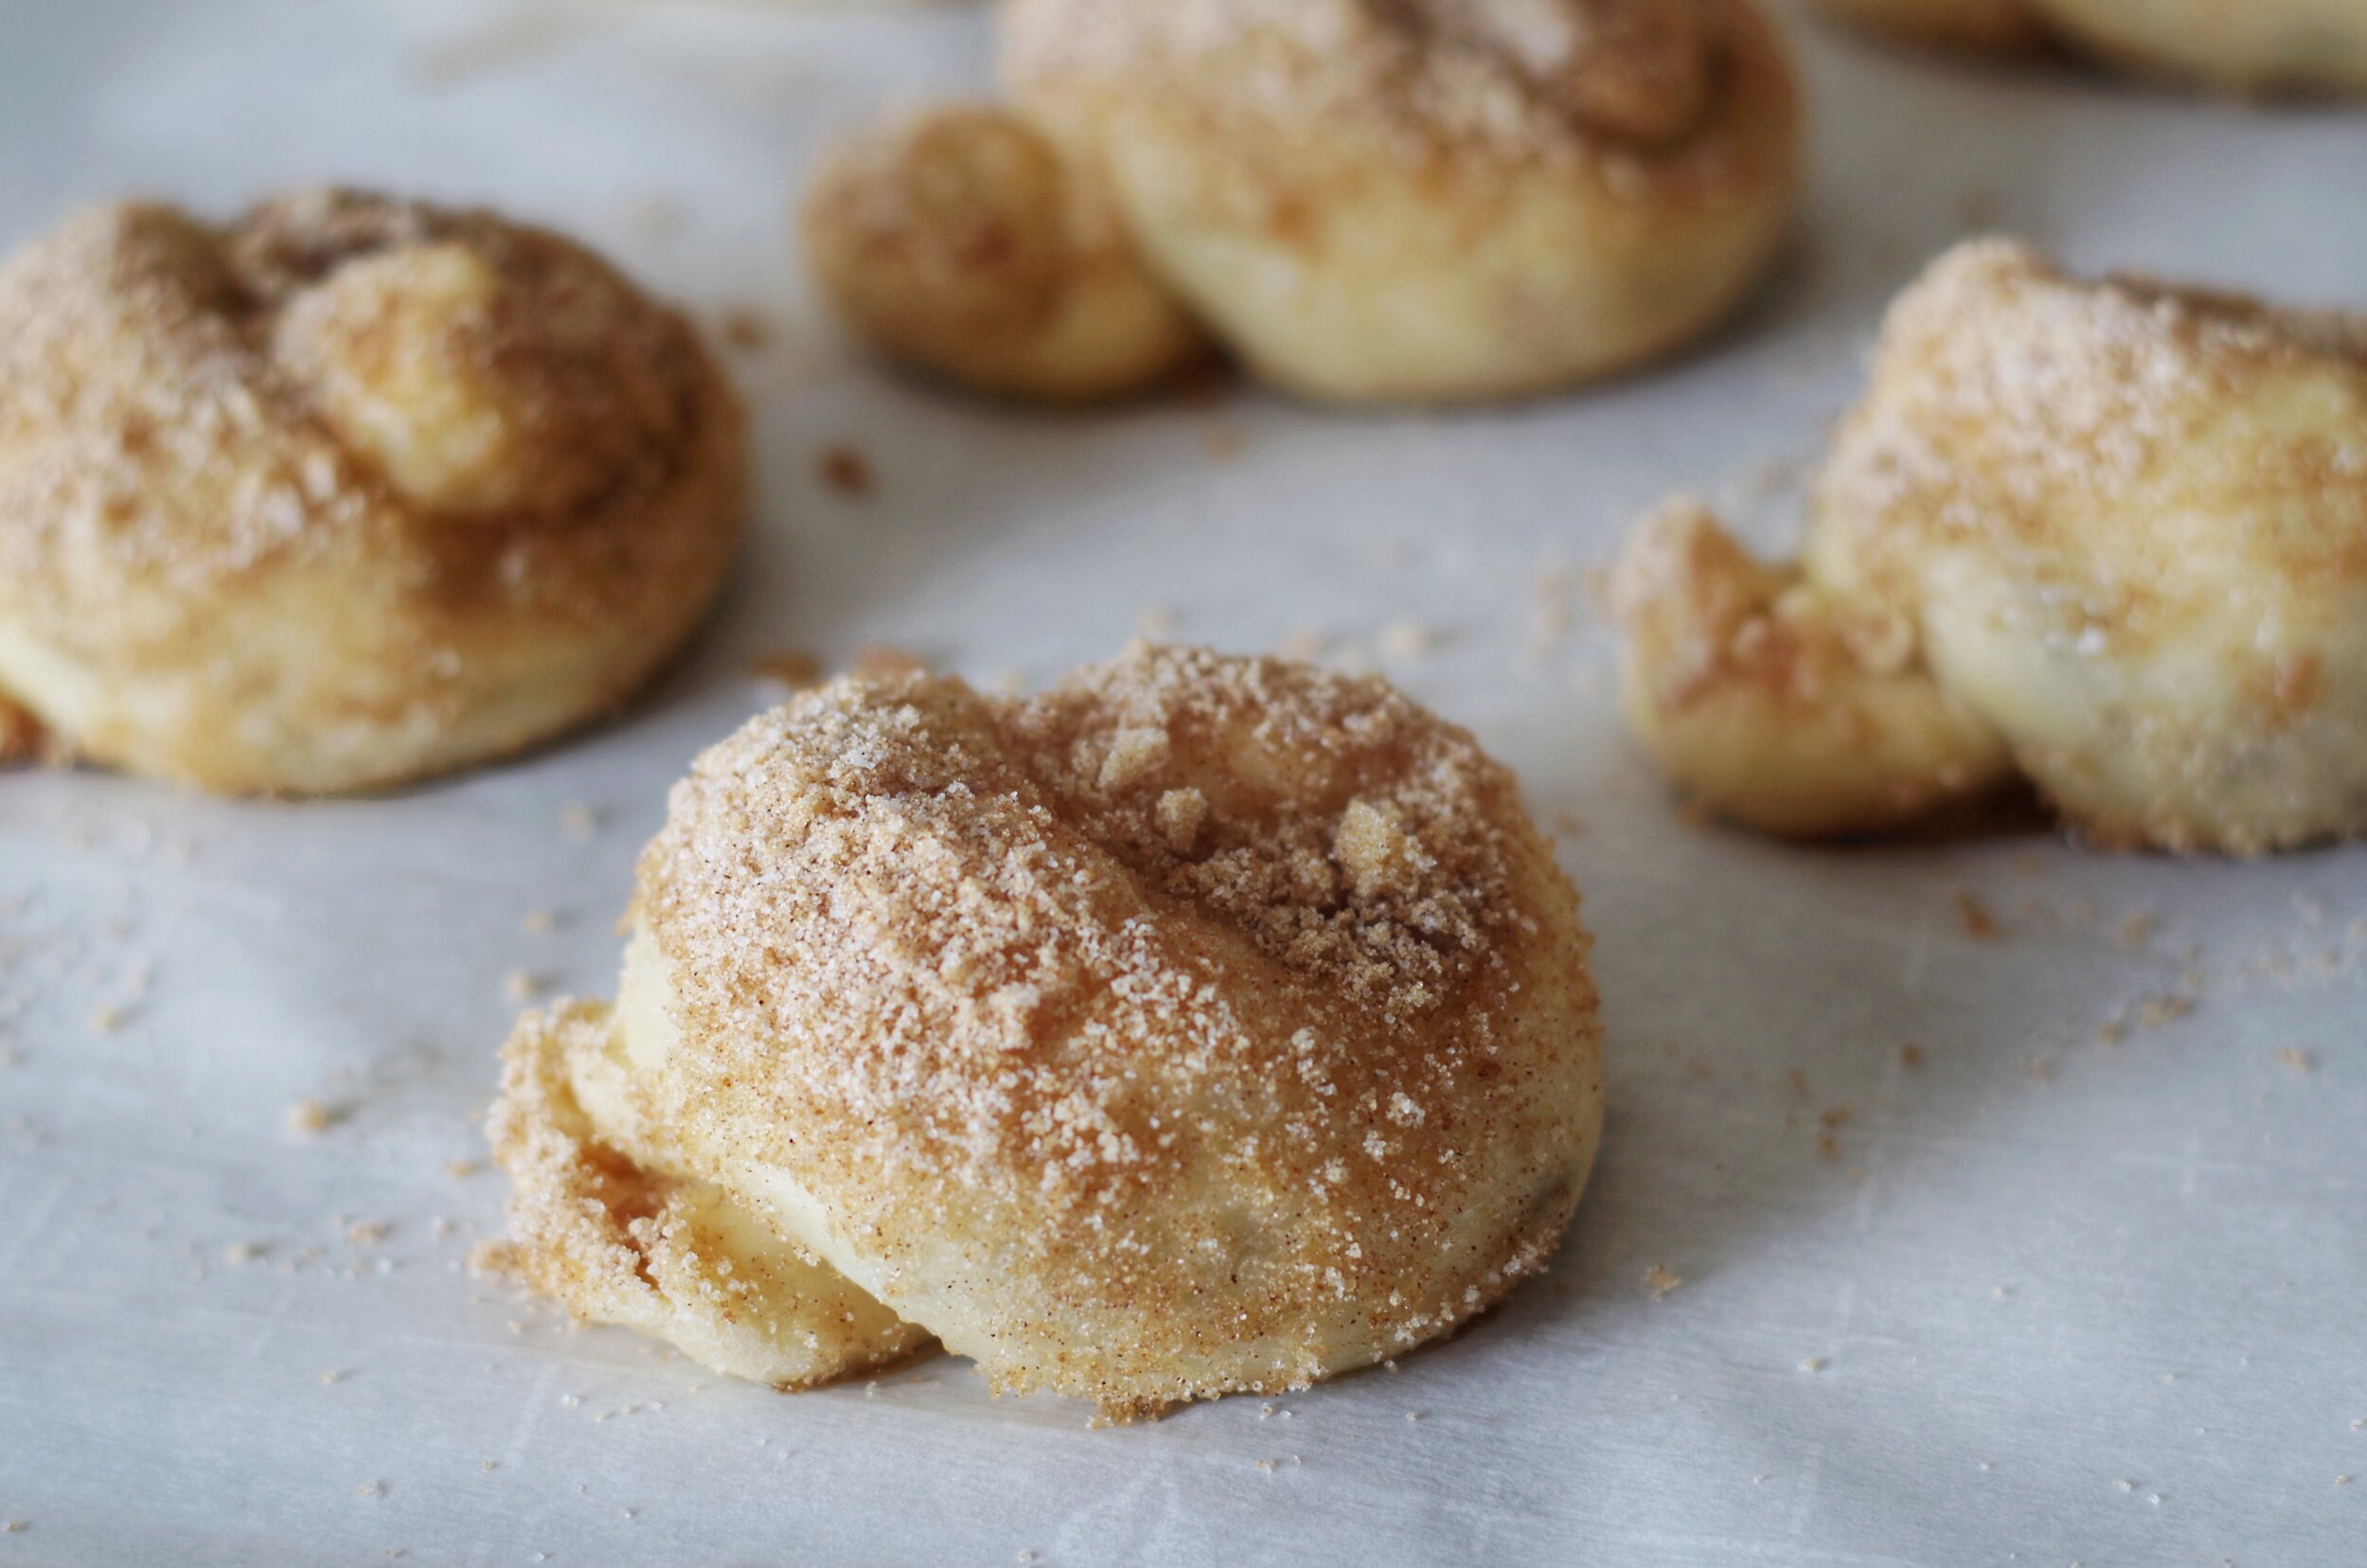
  4. Coat knots with Cinnamon Topping: Brush knots with melted butter and liberally dust with cinnamon sugar mixture.  Make sure all of the butter and sugar make it onto the knots. 

  5. 2nd Rise: Place knots onto parchment-lined baking sheets, leaving a couple inches in between each knot. Put in a warm place, cover and allow to rise for approximately 1 hour.

  6. Preheat oven to 350 degrees F.

  7. Bake: Bake knots for 21-25 minutes, until tops and bottoms are golden brown.  15 minutes into baking, rotate baking sheets and check on the knots. If any of the cinnamon-sugar-butter mixture seeps out of the knots, use a butter knife to scoop this caramelly goodness on to the tops of the knots--it makes them even better!  Repeat this step when you remove the knots from the oven when they are done. 

  8. Drizzle with Icing: While the knots are cooling, make your icing by melting butter, adding powdered sugar, and then mixing in vanilla and cream, half & half, or milk.  Amount of milk depends on how thick you would like the icing. If the icing is too thick, however, it will be prone to falling off the knots as it dries. Drizzle icing onto knots after they have cooled almost completely to prevent melting and get picture-perfect results. 

  9. Store at room temperature in an airtight container for best results. ENJOY!